Developer Mode Installation
Developer mode (dev mode) is intended to be used for local testing and development purposes.
Requirements
- The Kubernetes node must pass the host-check
- If the Kubelet's RootDir is not
/var/lib/kubelet, you must create abind mountto/var/lib/kubeletas follows:KUBELET_ROOT_DIR="path to your kubelet root dir"
echo "${KUBELET_ROOT_DIR} /var/lib/kubelet none bind 0 0" >> /etc/fstab
mkdir -p /var/lib/kubelet && mount -a - Multus is installed across your cluster and a corresponding
NetworkAttachmentDefinitionCRD is created. - The Harvester Chart already contains the Kubevirt and Longhorn
Installation
For development purpose, Harvester can be installed on a Kubernetes cluster by using the Helm CLI.
Please refer to the Harvester Helm chart for more details on installing and configuring the Helm chart.
Create the cattle-system namespace
kubectl create ns cattle-systemAdd the rancher-latest helm repo
helm repo add rancher-latest https://releases.rancher.com/server-charts/latestInstall Rancher chart
helm install rancher rancher-latest/rancher \
--namespace cattle-system \
--set tls=external \
--set rancherImagePullPolicy=IfNotPresent \
--set rancherImage=rancher/rancher \
--set rancherImageTag=v2.6.3-harvester1 \
--set noDefaultAdmin=false \
--set features="multi-cluster-management=false\,multi-cluster-management-agent=false" \
--set useBundledSystemChart=true \
--set bootstrapPassword=admin
Change the 'status.provider' of the local cluster object to "harvester"
kubectl edit clusters.management.cattle.io localClone the GitHub repository
git clone https://github.com/harvester/harvester.git --depth=1Go to the Helm chart
cd harvester/deploy/chartsCreate the harvester-system namespace
kubectl create ns harvester-systemInstall the Harvester crd chart
helm install harvester-crd ./harvester-crd --namespace harvester-systemInstall the Harvester chart
## In order to use the service type LoadBalancer and create a vip in control-plane nodes, we need to enable kubevip.
VIP_IP="replace with your vip ip, such as 192.168.5.10"
VIP_NIC="replace with your vip interface name, such as eth0"
helm install harvester ./harvester --namespace harvester-system \
--set harvester-node-disk-manager.enabled=true \
--set harvester-network-controller.enabled=true \
--set harvester-load-balancer.enabled=true \
--set kube-vip.enabled=true \
--set kube-vip.config.vip_interface=${VIP_NIC} \
--set kube-vip.config.vip_address=${VIP_IP} \
--set service.vip.enabled=true \
--set service.vip.ip=${VIP_IP}
## In some Kubernetes distributions (such as kubeadm), we need to modify the kube-vip nodeSelector to match the control-plane nodes.
--set kube-vip.nodeSelector."node-role\.kubernetes\.io/master"=""Expose Harvester UI
## Refer to https://kube-vip.chipzoller.dev/docs/usage/cloud-provider/. Add `cidr-cattle-system: ${VIP_IP}/32` to kubevip configMap.
kubectl -n kube-system edit cm kubevip

## Change the rancher service type from ClusterIP to LoadBalancer, and then you can access Harvester UI via https://${VIP_IP}.
kubectl -n cattle-system edit svc rancher
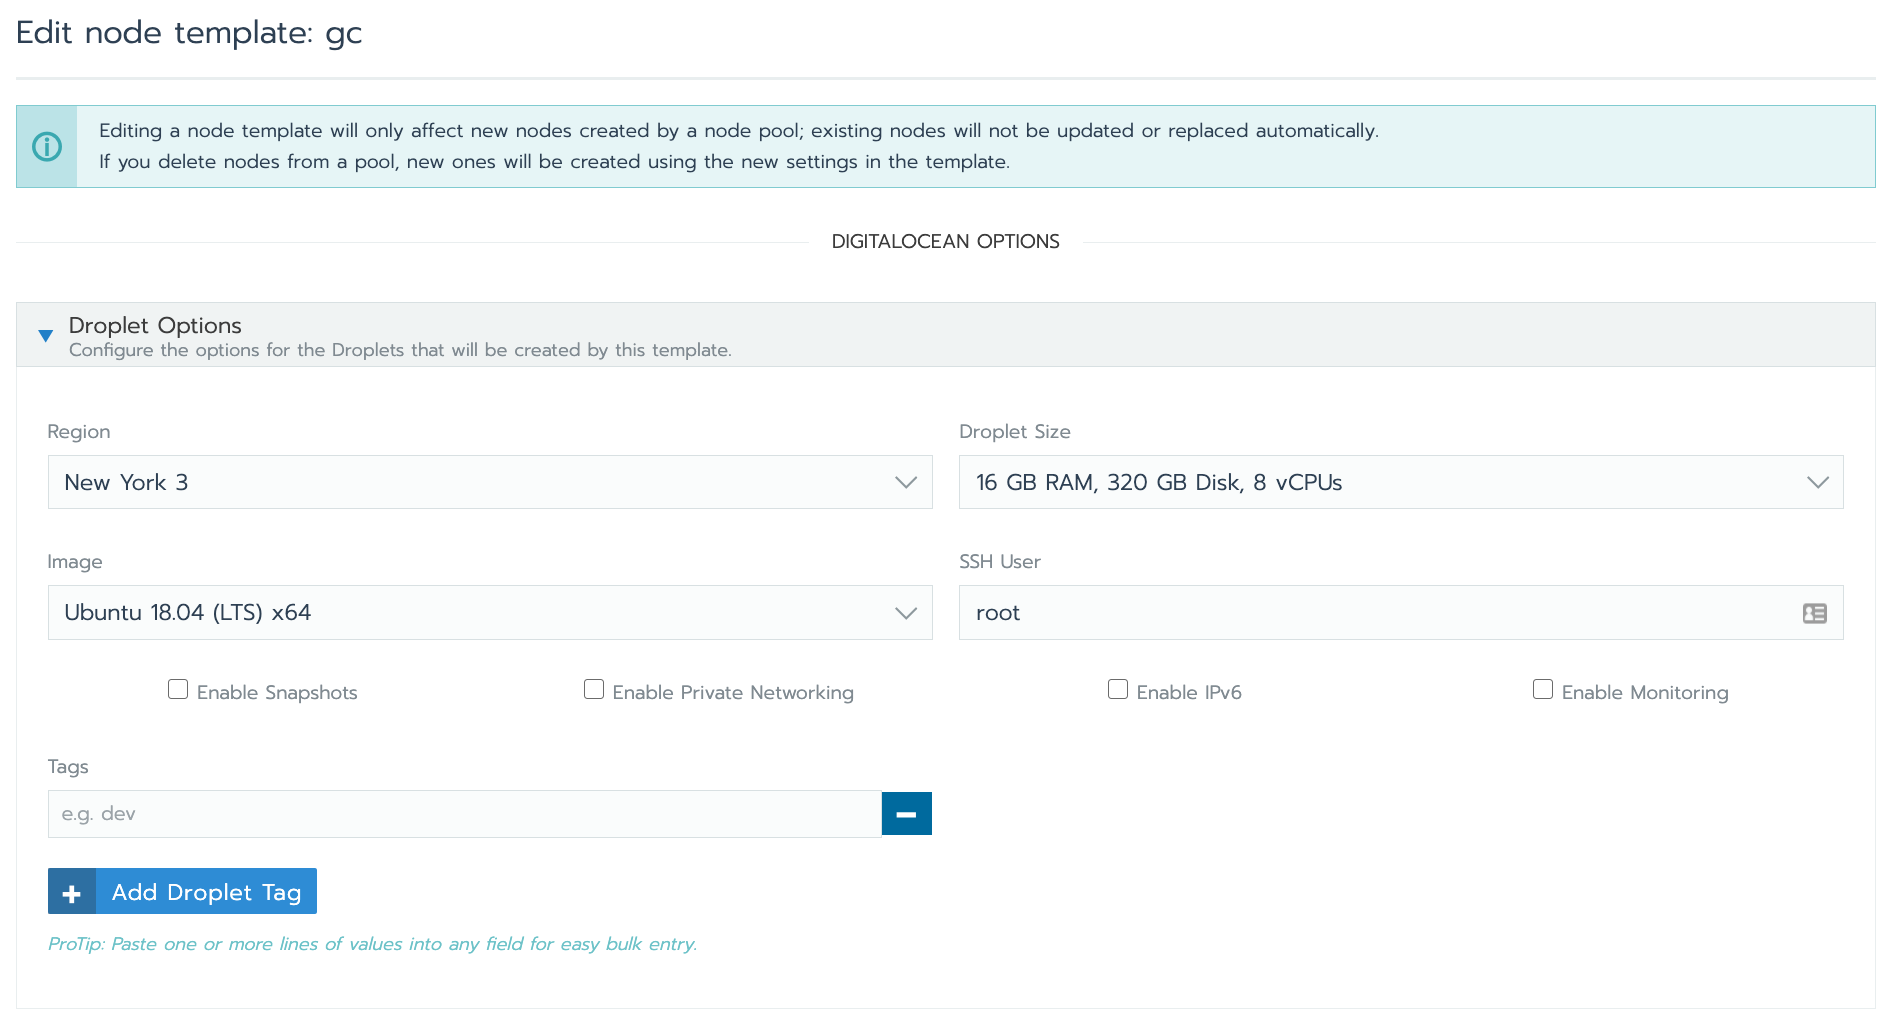
DigitalOcean Test Environment
You can create a test Kubernetes environment in Rancher using DigitalOcean as a cloud provider, which supports nested virtualization.
We recommend using a 8 core, 16 GB RAM droplet, which will have nested virtualization enabled by default.
This screenshot shows how to create a Rancher node template that would allow Rancher to provision such a node in DigitalOcean:
For more information on how to launch DigitalOcean nodes with Rancher, refer to the Rancher documentation.