Host Management
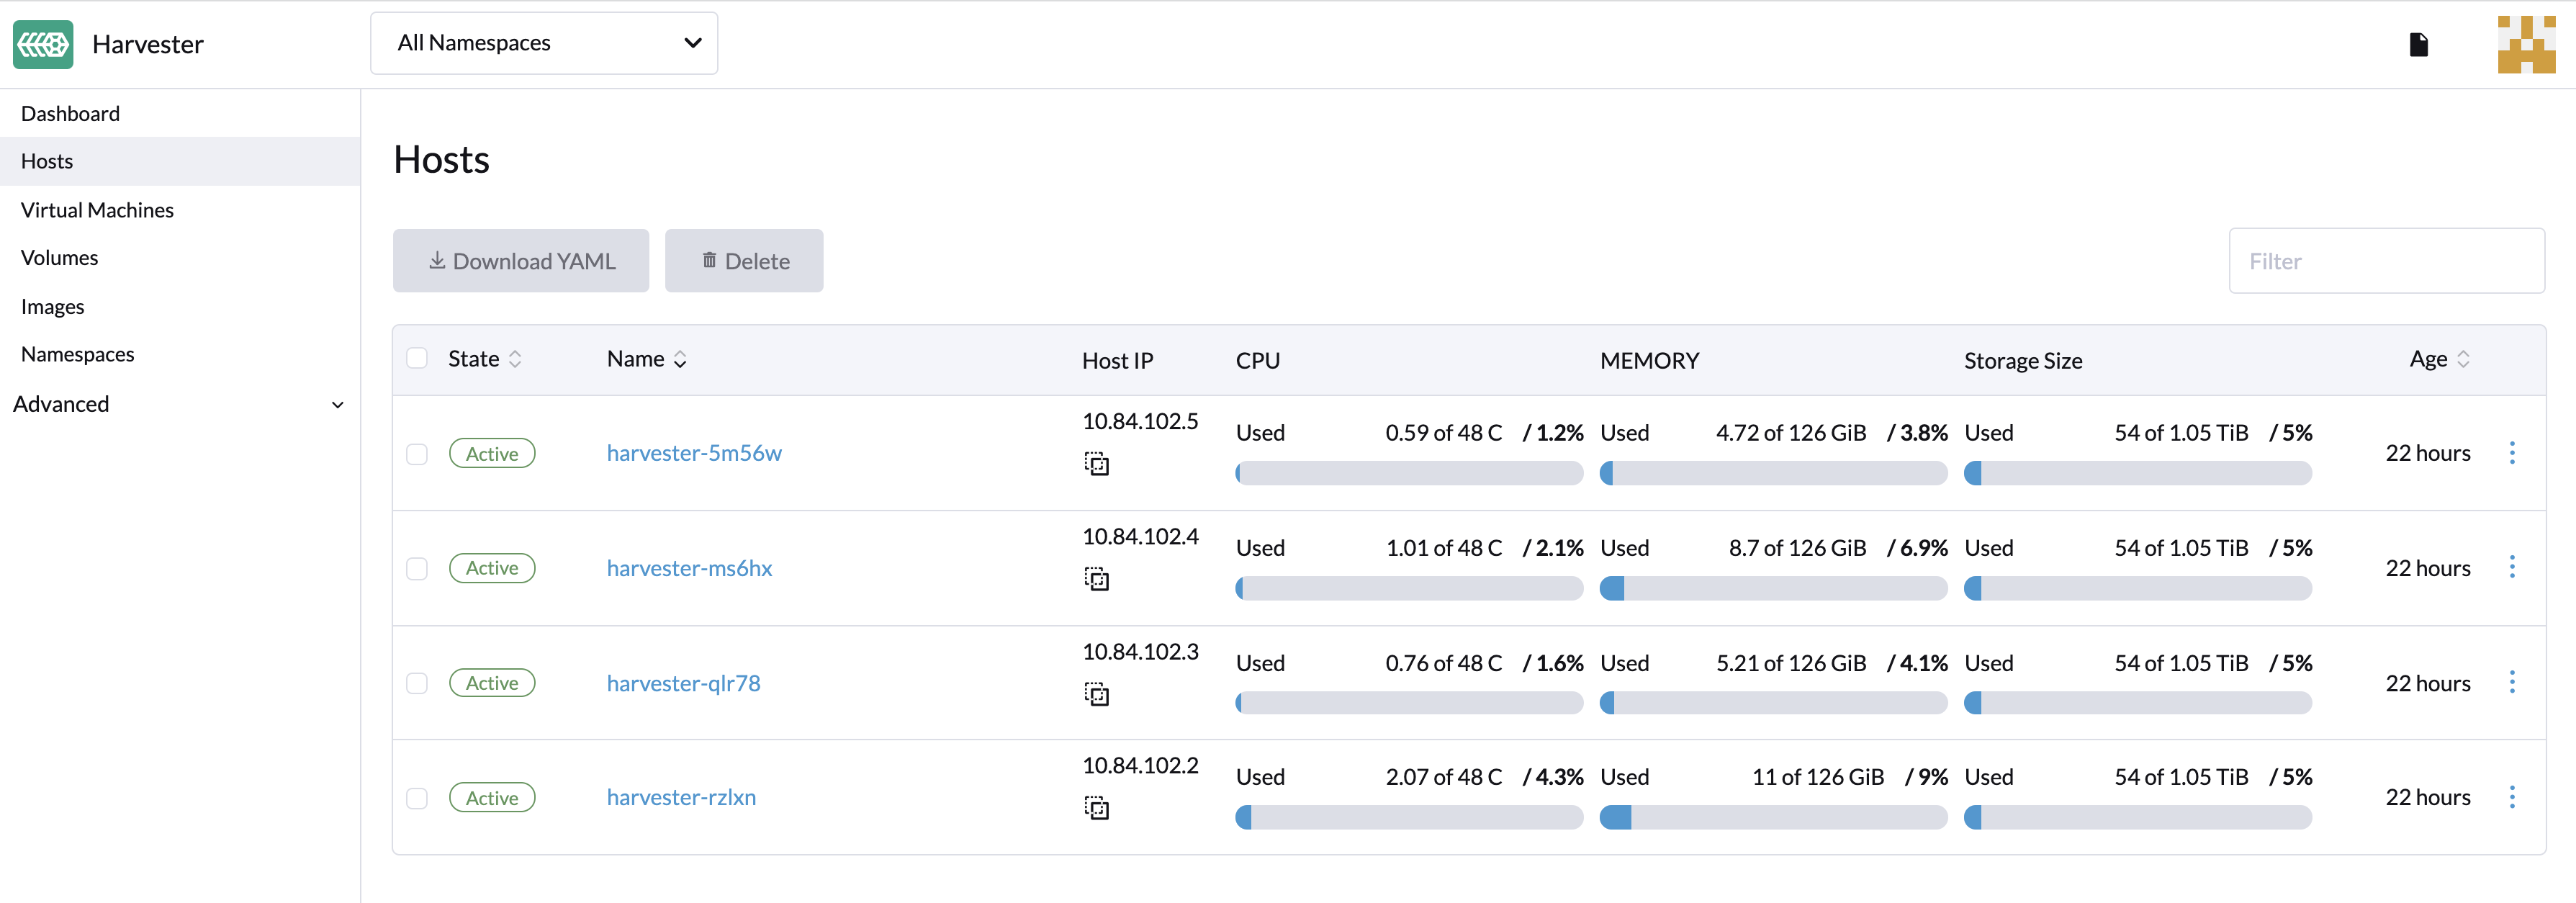
Users can view and manage Harvester nodes from the host page. The first node always defaults to be a management node of the cluster. When there are three or more nodes, the two other nodes that first joined are automatically promoted to management nodes to form a HA cluster.
Because Harvester is built on top of Kubernetes and uses etcd as its database, the maximum node fault toleration is one when there are three management nodes.
Node Maintenance
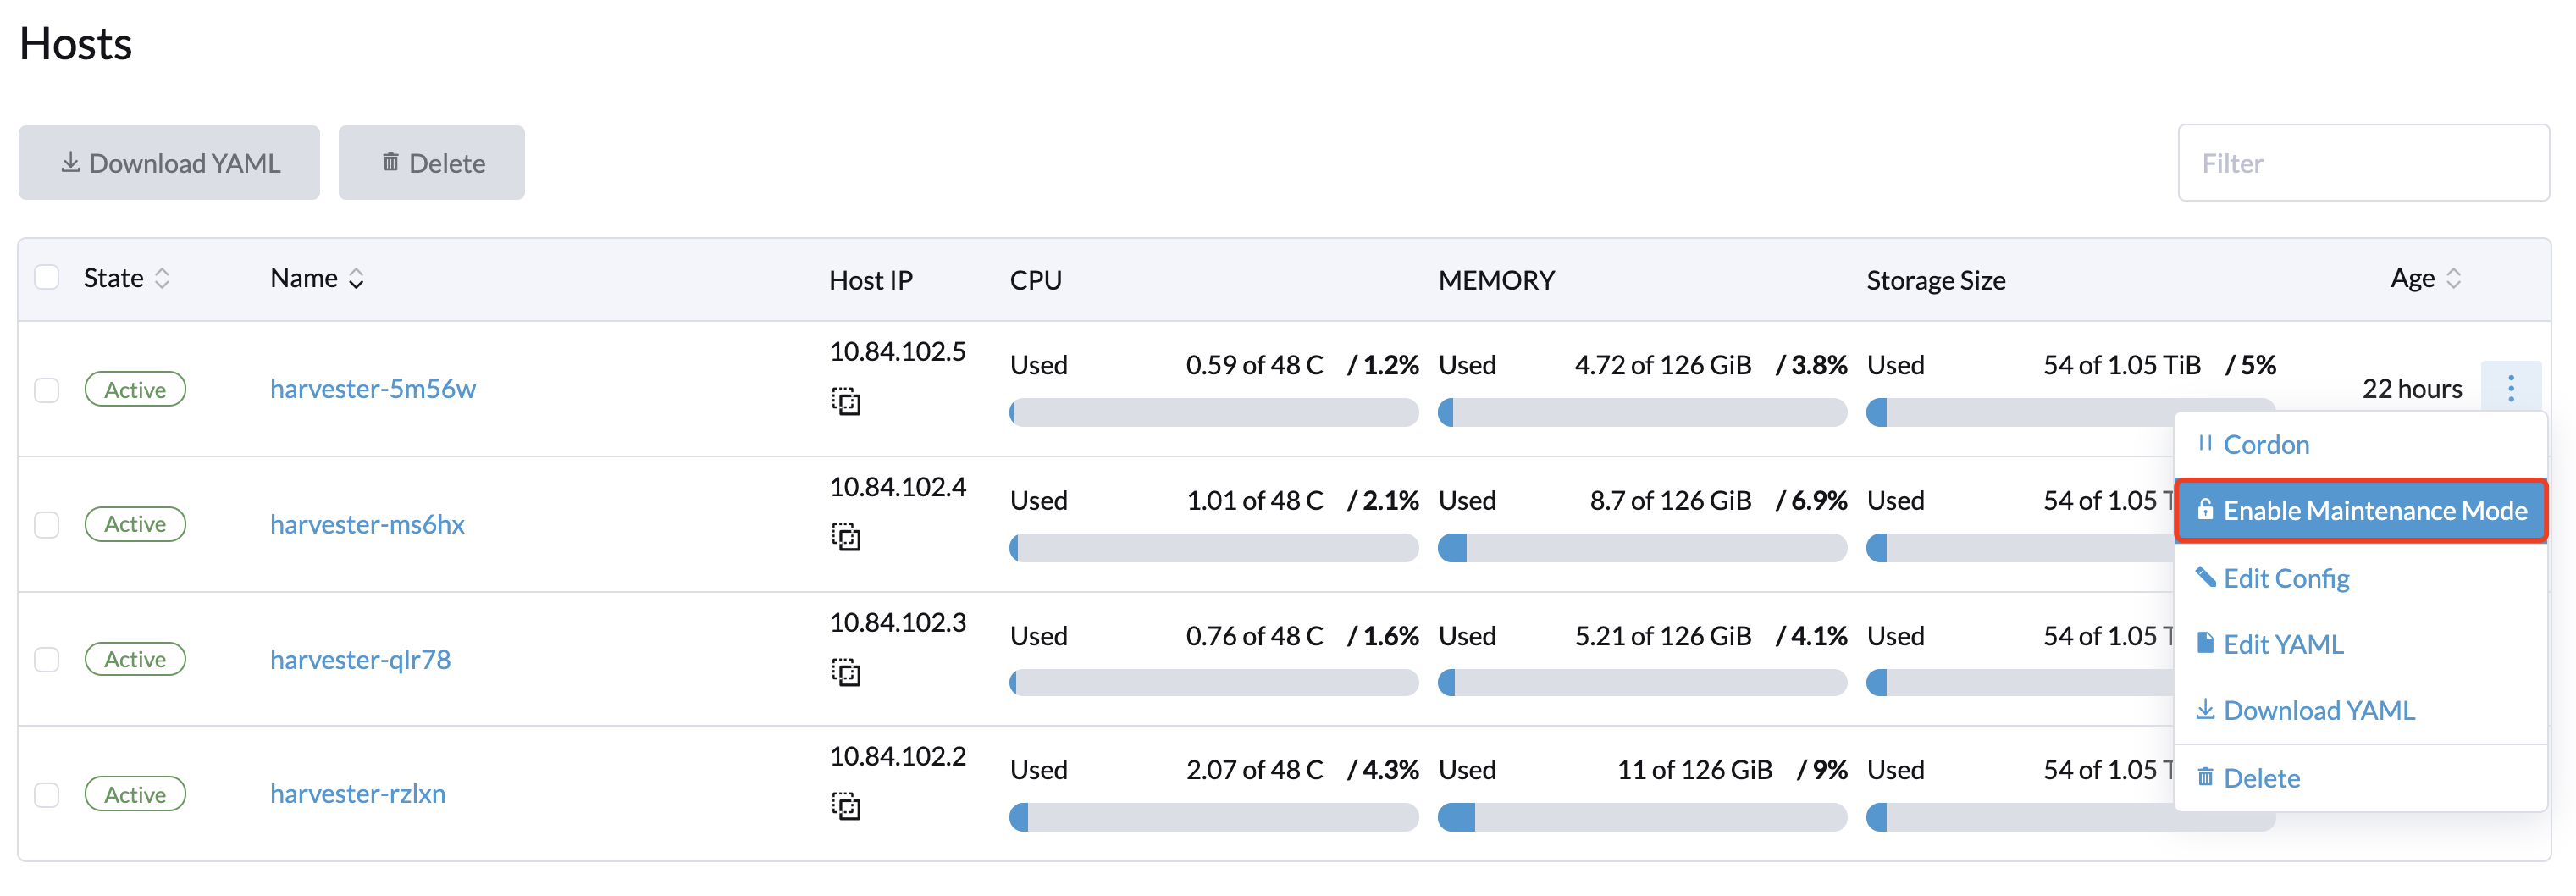
For admin users, you can click Enable Maintenance Mode to evict all VMs from a node automatically. It will leverage the VM live migration feature to migrate all VMs to other nodes automatically. Note that at least two active nodes are required to use this feature.
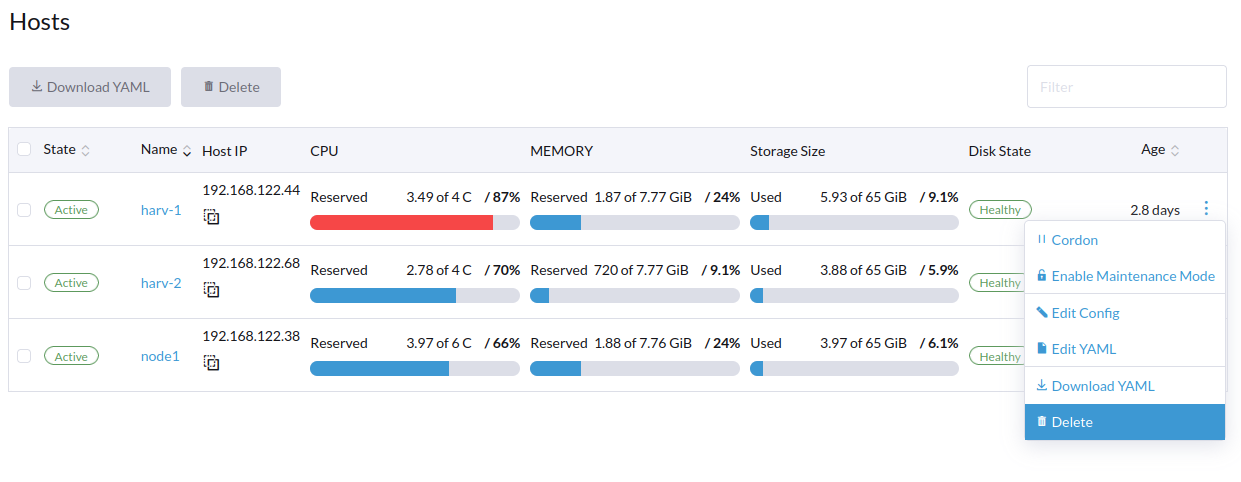
Cordoning a Node
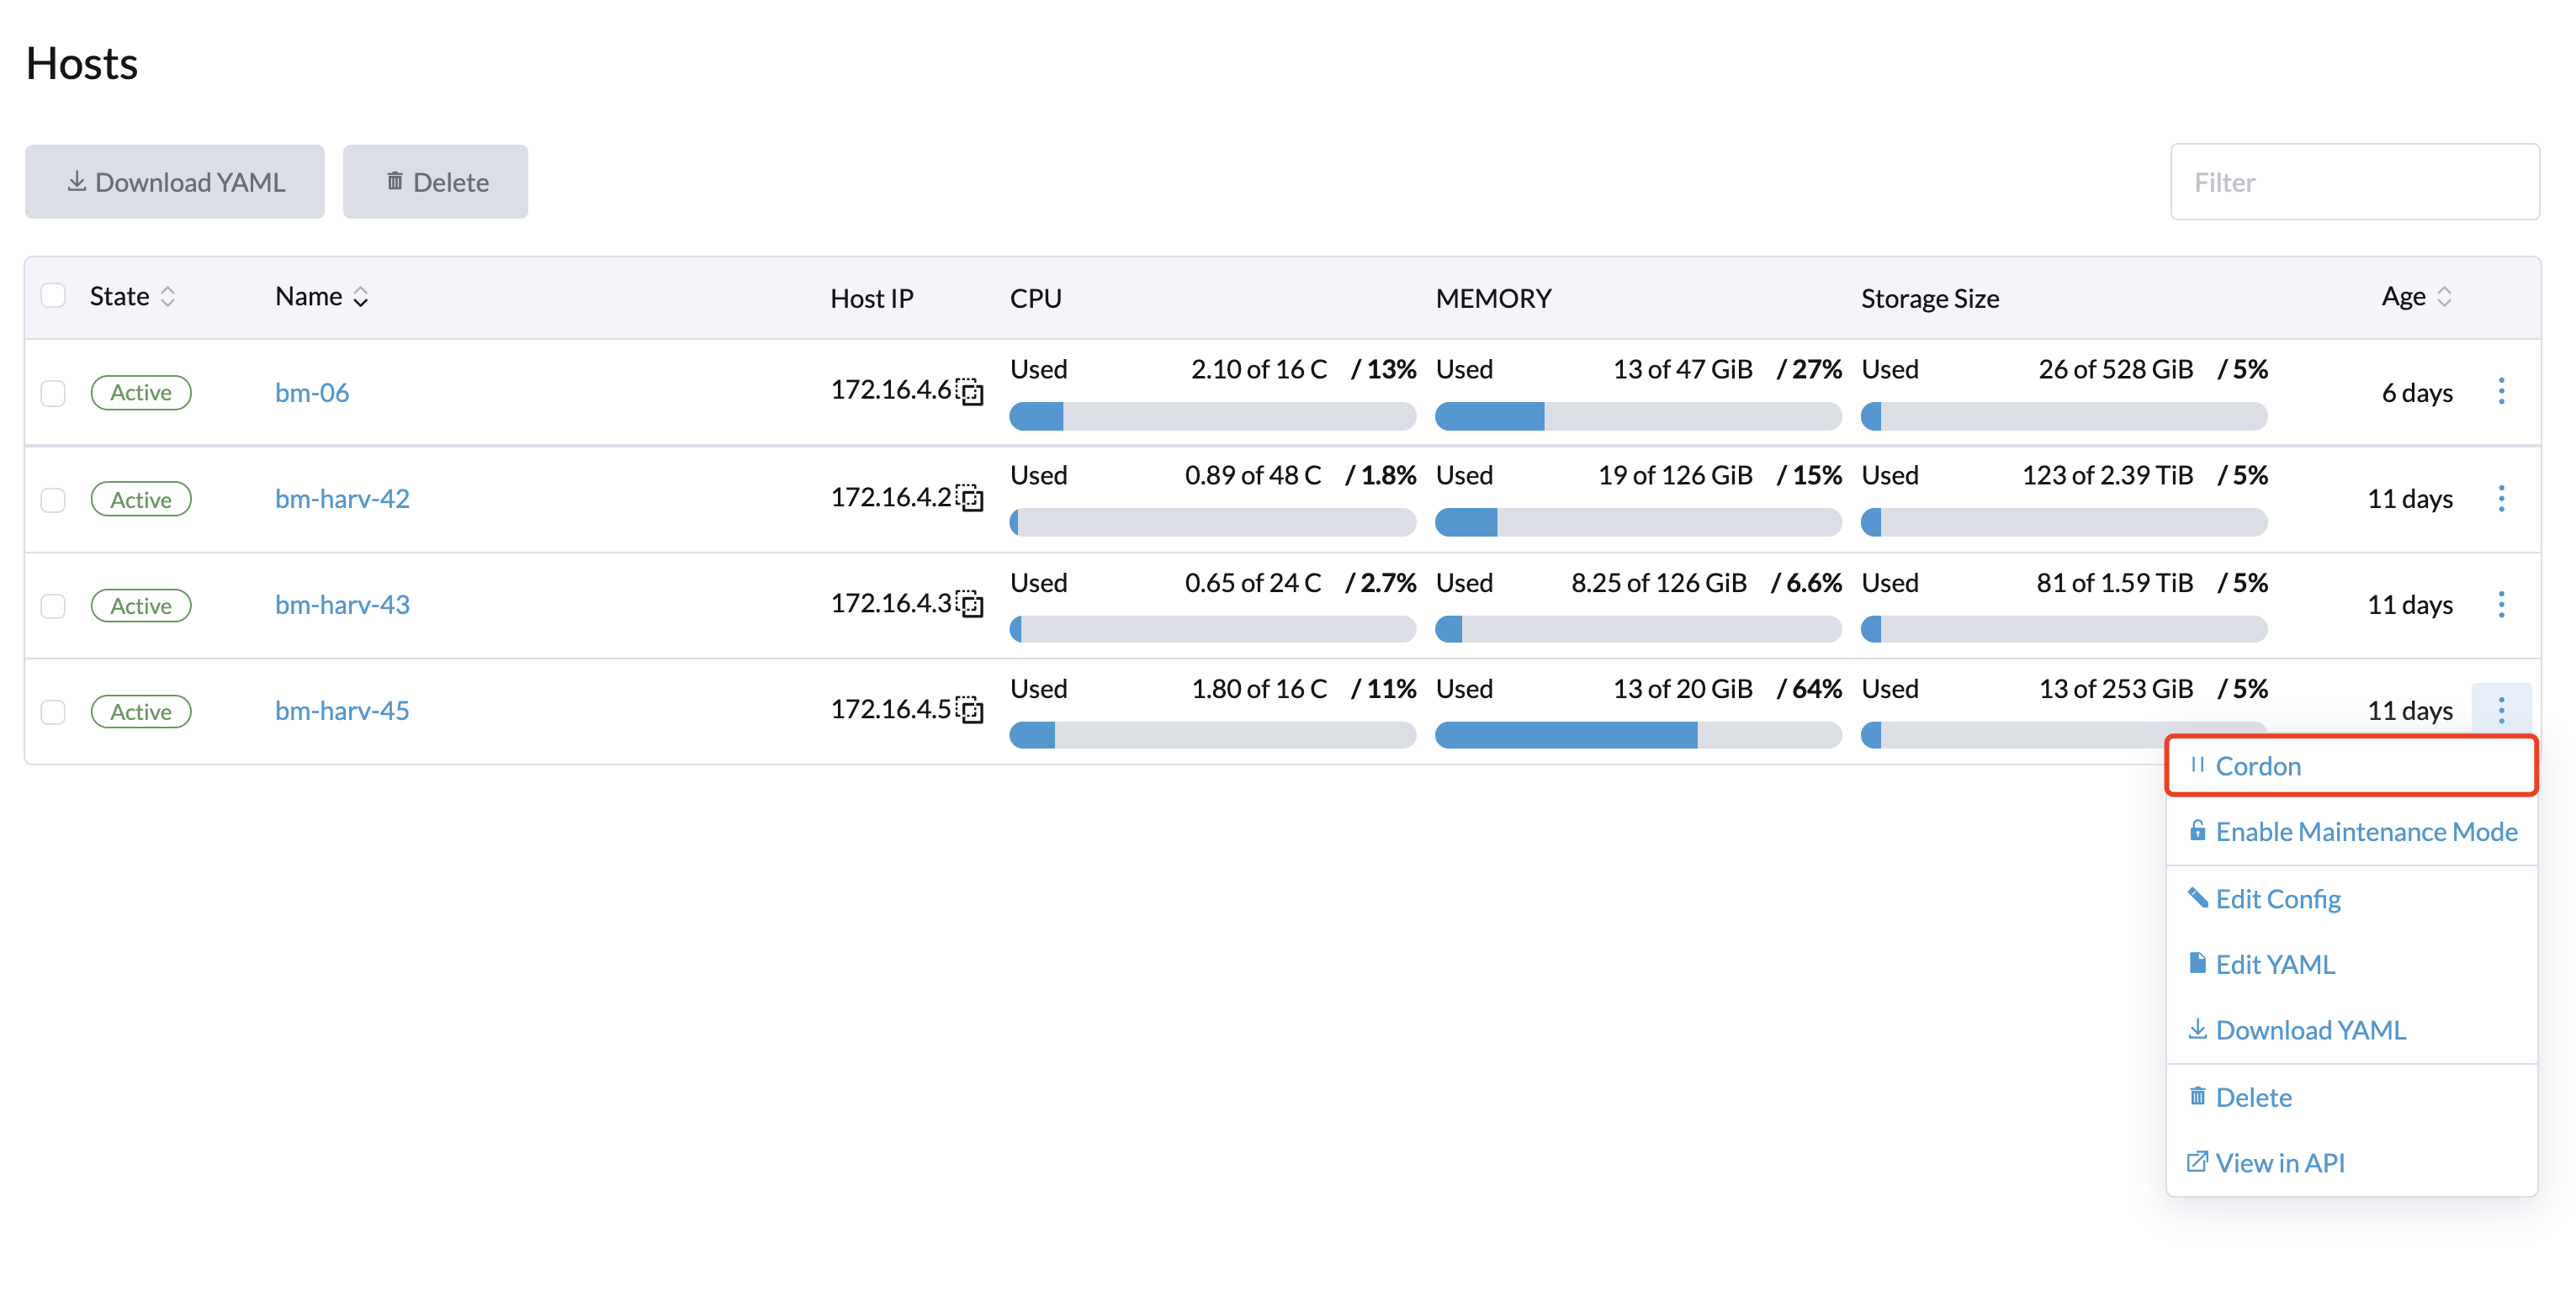
Cordoning a node marks it as unschedulable. This feature is useful for performing short tasks on the node during small maintenance windows, like reboots, upgrades, or decommissions. When you’re done, power back on and make the node schedulable again by uncordoning it.
Deleting a Node
Deleting a node is done in two phases:
Delete the node from Harvester
- Go to the Hosts page
- On the node you want to modify, click ⋮ > Delete
Uninstall RKE2 from the node
- Login to the node as root
- Run
rke2-uninstall.shto delete the whole RKE2 service.
You will lose all data of the control plane node after deleting the RKE2 service.
There's a known issue about node hard delete. Once resolved, the last step can be skipped.
Multi-disk Management - Tech Preview
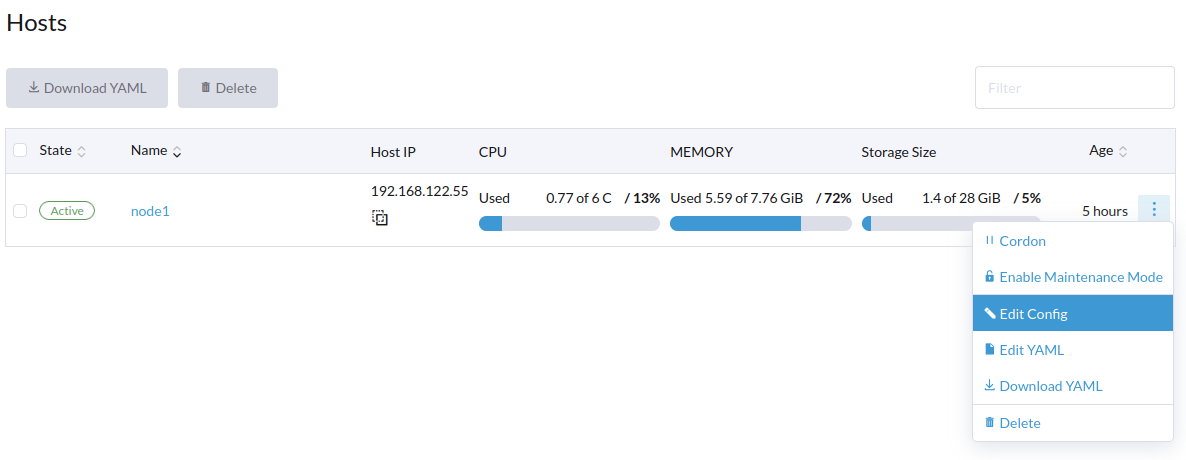
Users can view and add multiple disks as additional data volumes from the host detail page.
- Go to the Hosts page.
- On the node you want to modify, click ⋮ > Edit Config.
- Select the Disks tab and click Add Disks.
- Select an additional raw block device to add as an additional data volume.
- The
Force Formattedoption is required if the block device has never been force-formatted.
- The
In order for Harvester to identify the disks, each disk needs to have a unique WWN. Otherwise, Harvester will refuse to add the disk.
If your disk does not have a WWN, you can format it with the EXT4 filesystem to help Harvester recognize the disk.
If you are testing Harvester in a QEMU environment, you'll need to use QEMU v6.0 or later. Previous versions of QEMU will always generate the same WWN for NVMe disks emulation. This will cause Harvester to not add the additional disks, as explained above.