ISO Installation
To get the Harvester ISO image, download it from the Github releases page.
During the installation you can either choose to form a new cluster, or join the node to an existing cluster.
Note: This video shows a quick overview of the ISO installation.
Mount the Harvester ISO disk and boot the server by selecting the
Harvester Installeroption.
Choose the installation mode by either creating a new Harvester cluster, or by joining an existing one.
Choose the installation device on which the Harvester cluster will be installed
Configure the hostname and select the network interface for the management network. By default, Harvester will create a bonded NIC named
harvester-mgmt, and the IP address can be configured via DHCP or a statically assigned one (Note: The Node IP can not change at the lifecycle of a Harvester cluster, in case the DHCP is used, the user must make sure the DHCP server always offers the same IP for the same Node. Due to a changed Node IP the related Node can not join the cluster, or even break the cluster).
(Optional) Configure the DNS servers. Use commas as a delimiter.
Configure the
Virtual IPwhich you can use to access the cluster or join other nodes to the cluster (Note: If your IP address is configured via DHCP, you will need to configure static MAC-to-IP address mapping on your DHCP server in order to have a persistent Virtual IP, VIP must be different than any Node IP).Configure the
cluster token. This token will be used for adding other nodes to the cluster.Configure the login password of the host. The default SSH user is
rancher.Recommended configuring the NTP server to make sure all nodes' times are synchronized. This defaults to
0.suse.pool.ntp.org.(Optional) If you need to use an HTTP proxy to access the outside world, enter the proxy URL address here. Otherwise, leave this blank.
(Optional) You can choose to import SSH keys from a remote server URL. Your GitHub public keys can be used with
https://github.com/<username>.keys.(Optional) If you need to customize the host with a Harvester configuration file, enter the HTTP URL here.
After confirming the installation options, Harvester will be installed to your host. The installation may take a few minutes to be complete.
Once the installation is complete, it will restart the host. After the restart, the Harvester console containing the management URL and status will be displayed. You can Use
F12to switch between the Harvester console and the Shell.The default URL of the web interface is
https://your-virtual-ip.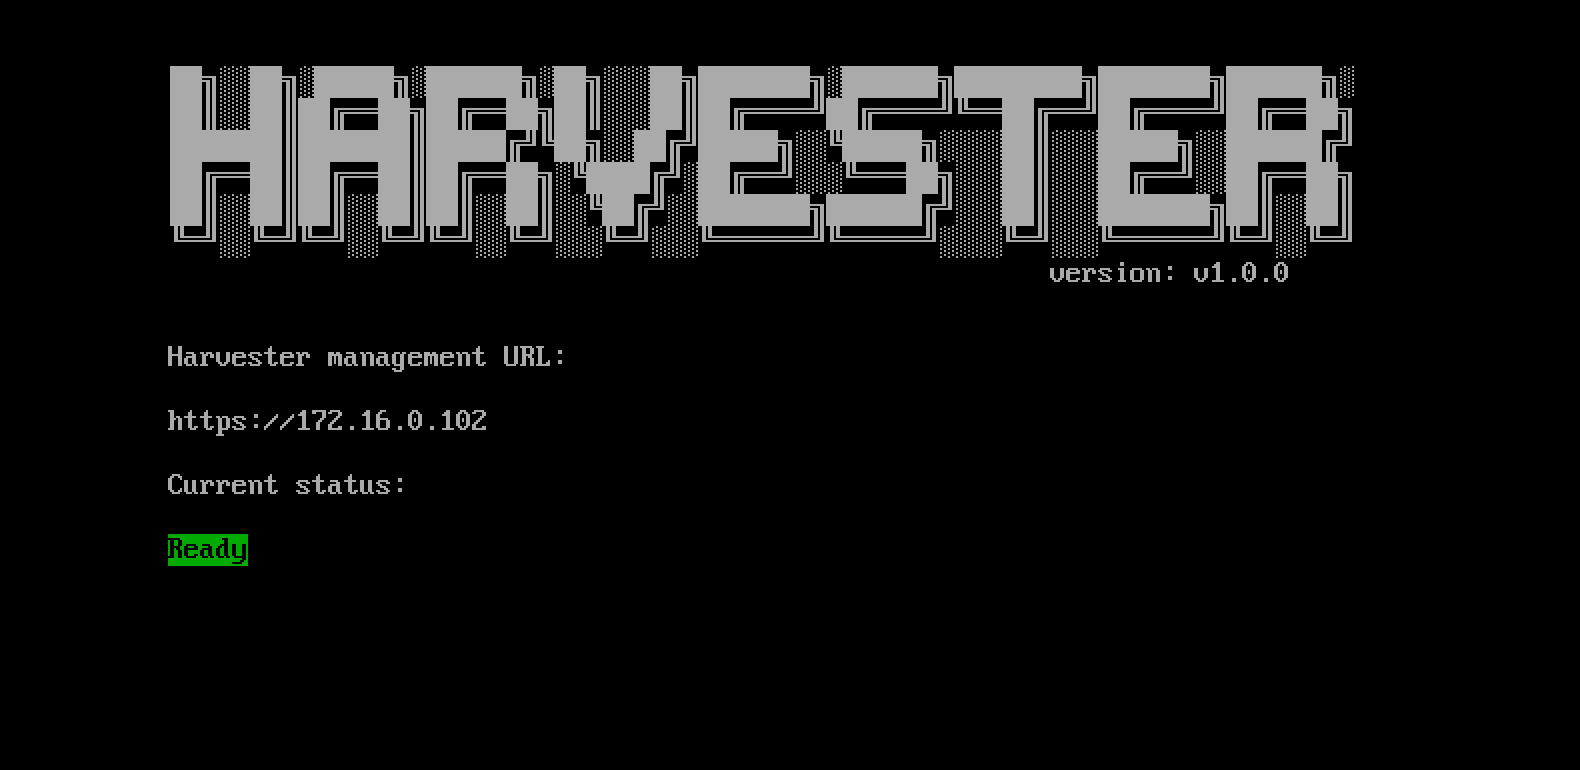
You will be prompted to set the password for the default
adminuser when logging in for the first time.
