Harvester
Fail to Deploy a Multi-node Cluster Due to Incorrect HTTP Proxy Setting
ISO Installation Without a Harvester Configuration File
Configure HTTP Proxy During Harvester Installation
In some environments, you configure http-proxy of OS Environment during Harvester installation.
Configure HTTP Proxy After First Node is Ready
After the first node is installed successfully, you login into the Harvester GUI to configure http-proxy of Harvester System Settings.
Then you continue to add more nodes to the cluster.
One Node Becomes Unavailable
The issue you may encounter:
The first node is installed successfully.

The second node is installed successfully.

The third node is installed successfully.

Then the second node changes to Unavialable state and cannot recover automatically.
Solution
When the nodes in the cluster do not use the HTTP Proxy to communicate with each other, after the first node is installed successfully, you need to configure http-proxy.noProxy against the CIDR used by those nodes.
For example, your cluster assigns IPs from CIDR 172.26.50.128/27 to nodes via DHCP/static setting, please add this CIDR to noProxy.
After setting this, you can continue to add new nodes to the cluster.
For more details, please refer to Harvester issue 3091.
ISO Installation With a Harvester Configuration File
When a Harvester configuration file is used in ISO installation, please configure proper http-proxy in Harvester System Settings.
PXE Boot Installation
When PXE Boot Installation is adopted, please configure proper http-proxy in OS Environment and Harvester System Settings.
Generate a Support Bundle
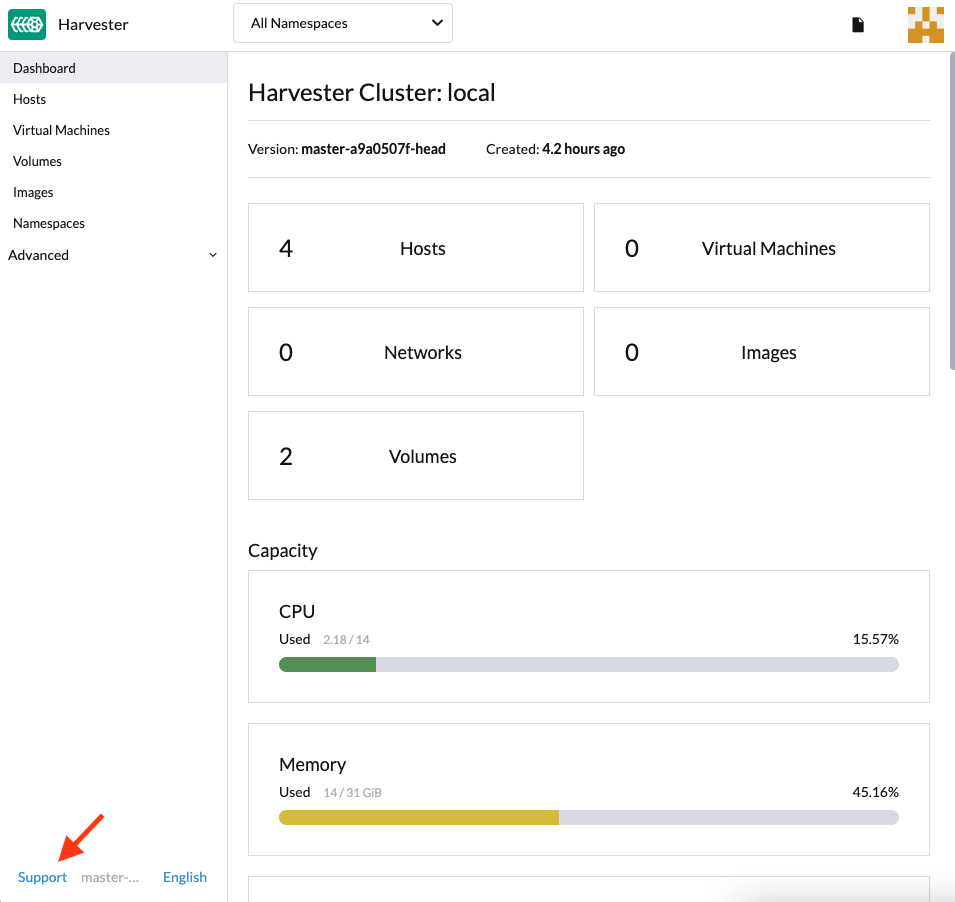
Users can generate a support bundle in the Harvester GUI with the following steps:
Click the
Supportlink at the bottom-left of Harvester Web UI.
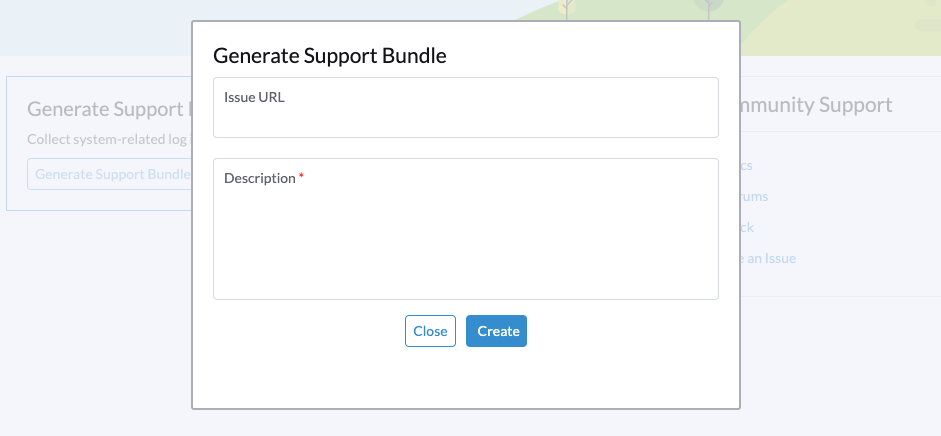
Click
Generate Support Bundlebutton.
Enter a useful description for the support bundle and click
Createto generate and download a support bundle.
Access Embedded Rancher and Longhorn Dashboards
Available as of v1.1.0
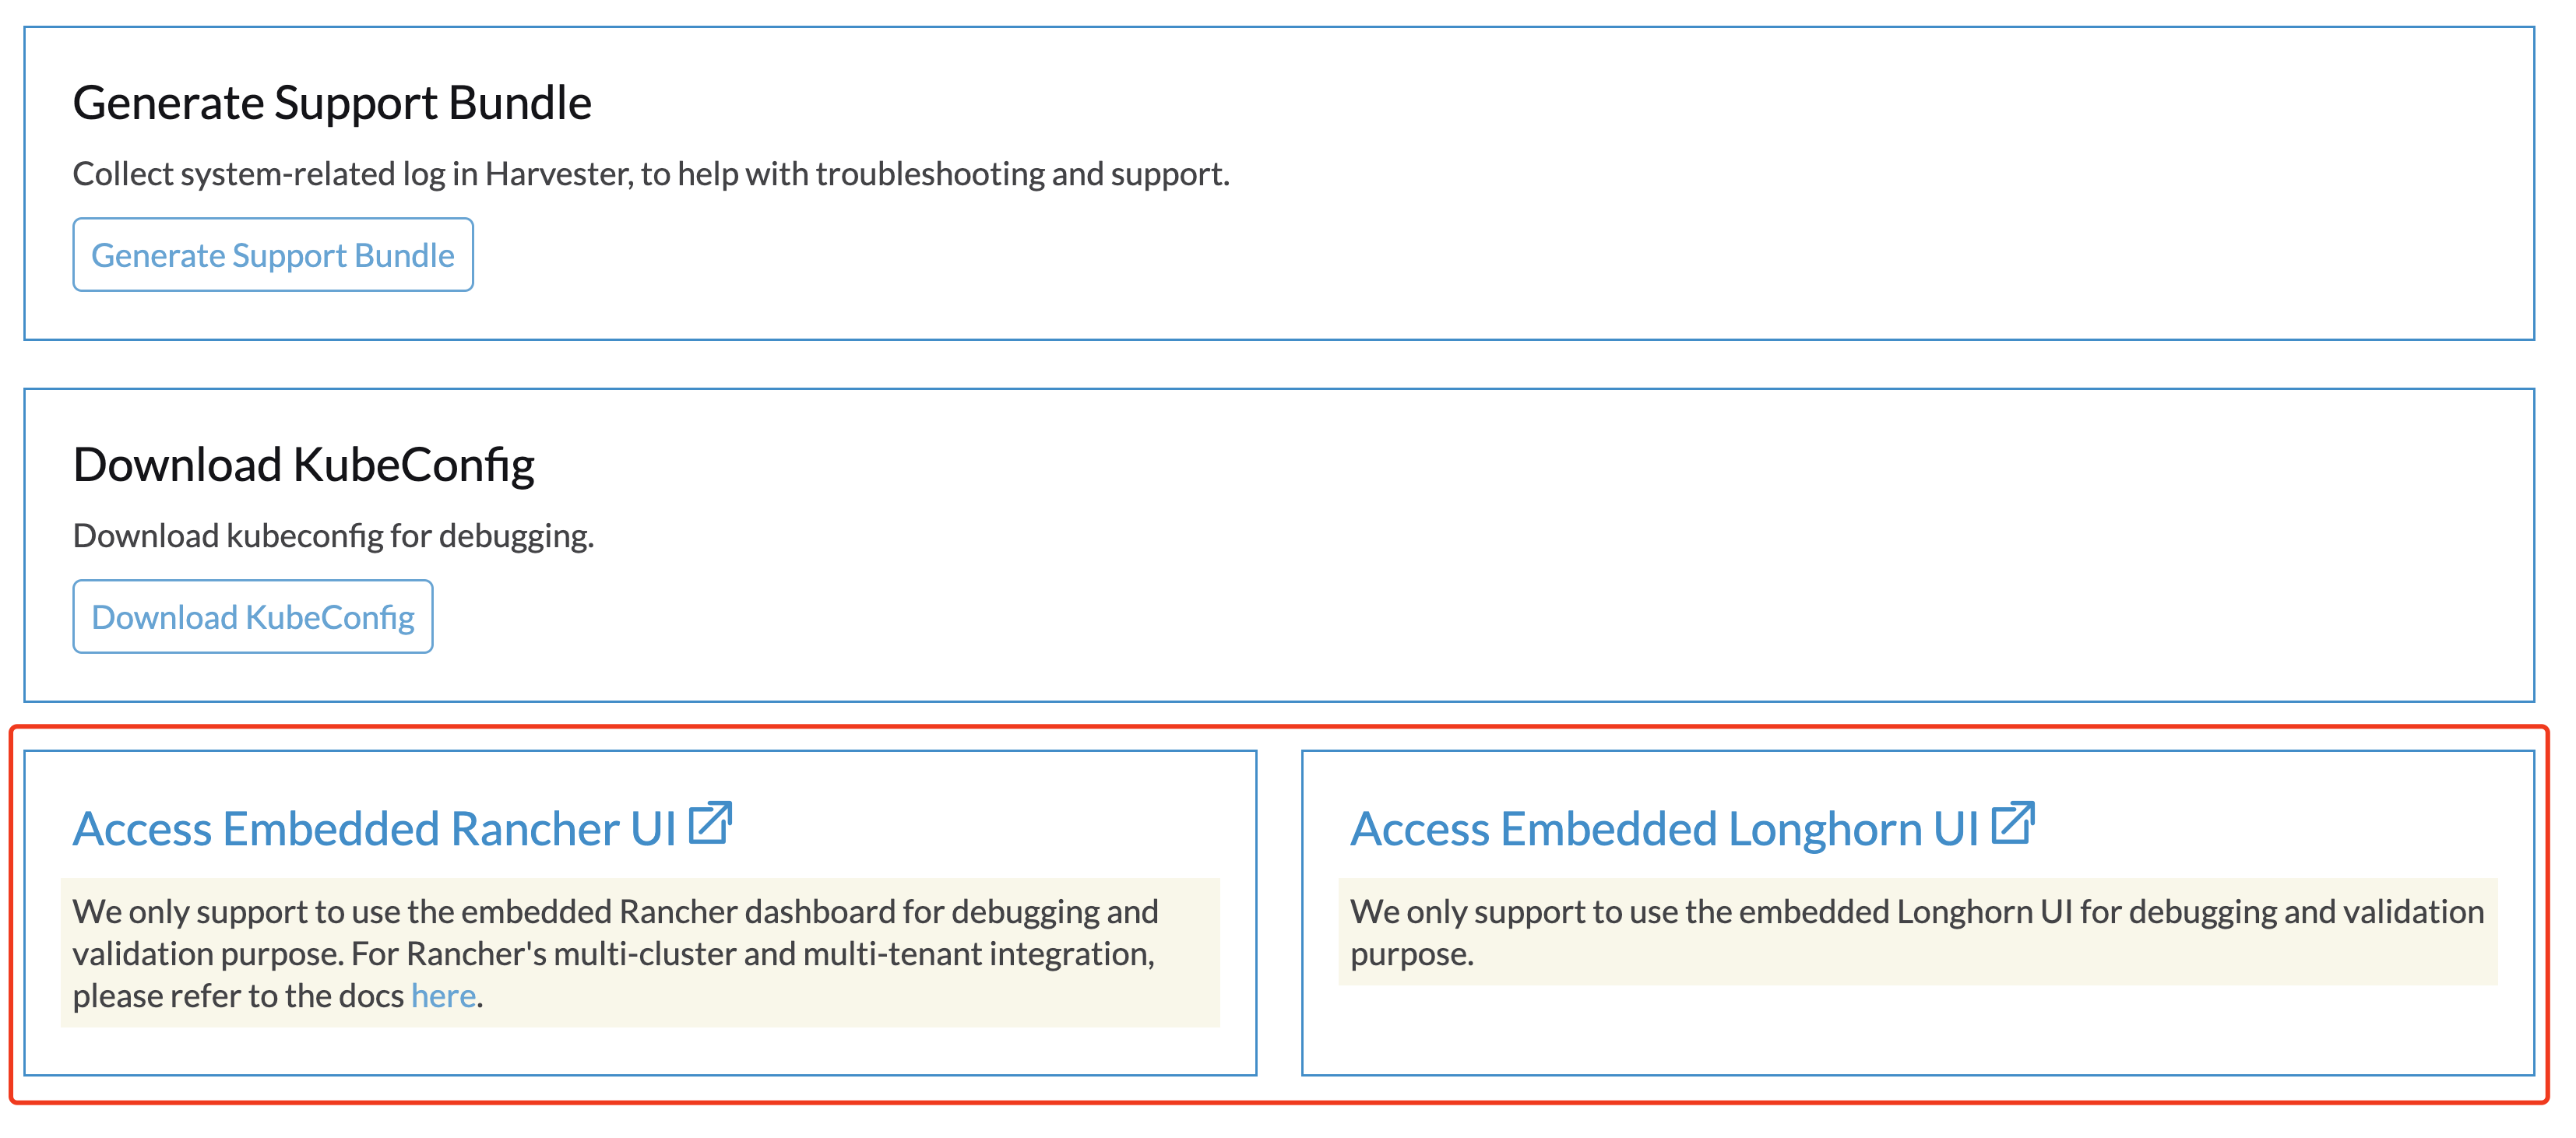
You can now access the embedded Rancher and Longhorn dashboards directly on the Support page, but you must first go to the Preferences page and check the Enable Extension developer features box under Advanced Features (in Harvester v1.1.0 and v1.1.1, the option name is Developer Tools & Features).

For previous versions, you can access them manually through:
https://{{HARVESTER_IP}}/dashboard/c/local/explorer(Embedded Rancher)https://{{HARVESTER_IP}}/dashboard/c/local/longhorn(Embedded Longhorn)
We only support using the embedded Rancher and Longhorn dashboards for debugging and validation purposes. For Rancher's multi-cluster and multi-tenant integration, please refer to the docs here.
I can't access Harvester after I changed SSL/TLS enabled protocols and ciphers
If you changed SSL/TLS enabled protocols and ciphers settings and you no longer have access to Harvester GUI and API, it's highly possible that NGINX Ingress Controller has stopped working due to the misconfigured SSL/TLS protocols and ciphers. Follow these steps to reset the setting:
- Following FAQ to SSH into Harvester node and switch to
rootuser.
$ sudo -s
- Editing setting
ssl-parametersmanually usingkubectl:
# kubectl edit settings ssl-parameters
- Deleting the line
value: ...so that NGINX Ingress Controller will use the default protocols and ciphers.
apiVersion: harvesterhci.io/v1beta1
default: '{}'
kind: Setting
metadata:
  name: ssl-parameters
...
value: '{"protocols":"TLS99","ciphers":"WRONG_CIPHER"}' # <- Delete this line
- Save the change and you should see the following response after exit from the editor:
setting.harvesterhci.io/ssl-parameters edited
You can further check the logs of Pod rke2-ingress-nginx-controller to see if NGINX Ingress Controller is working correctly.