Create a Volume
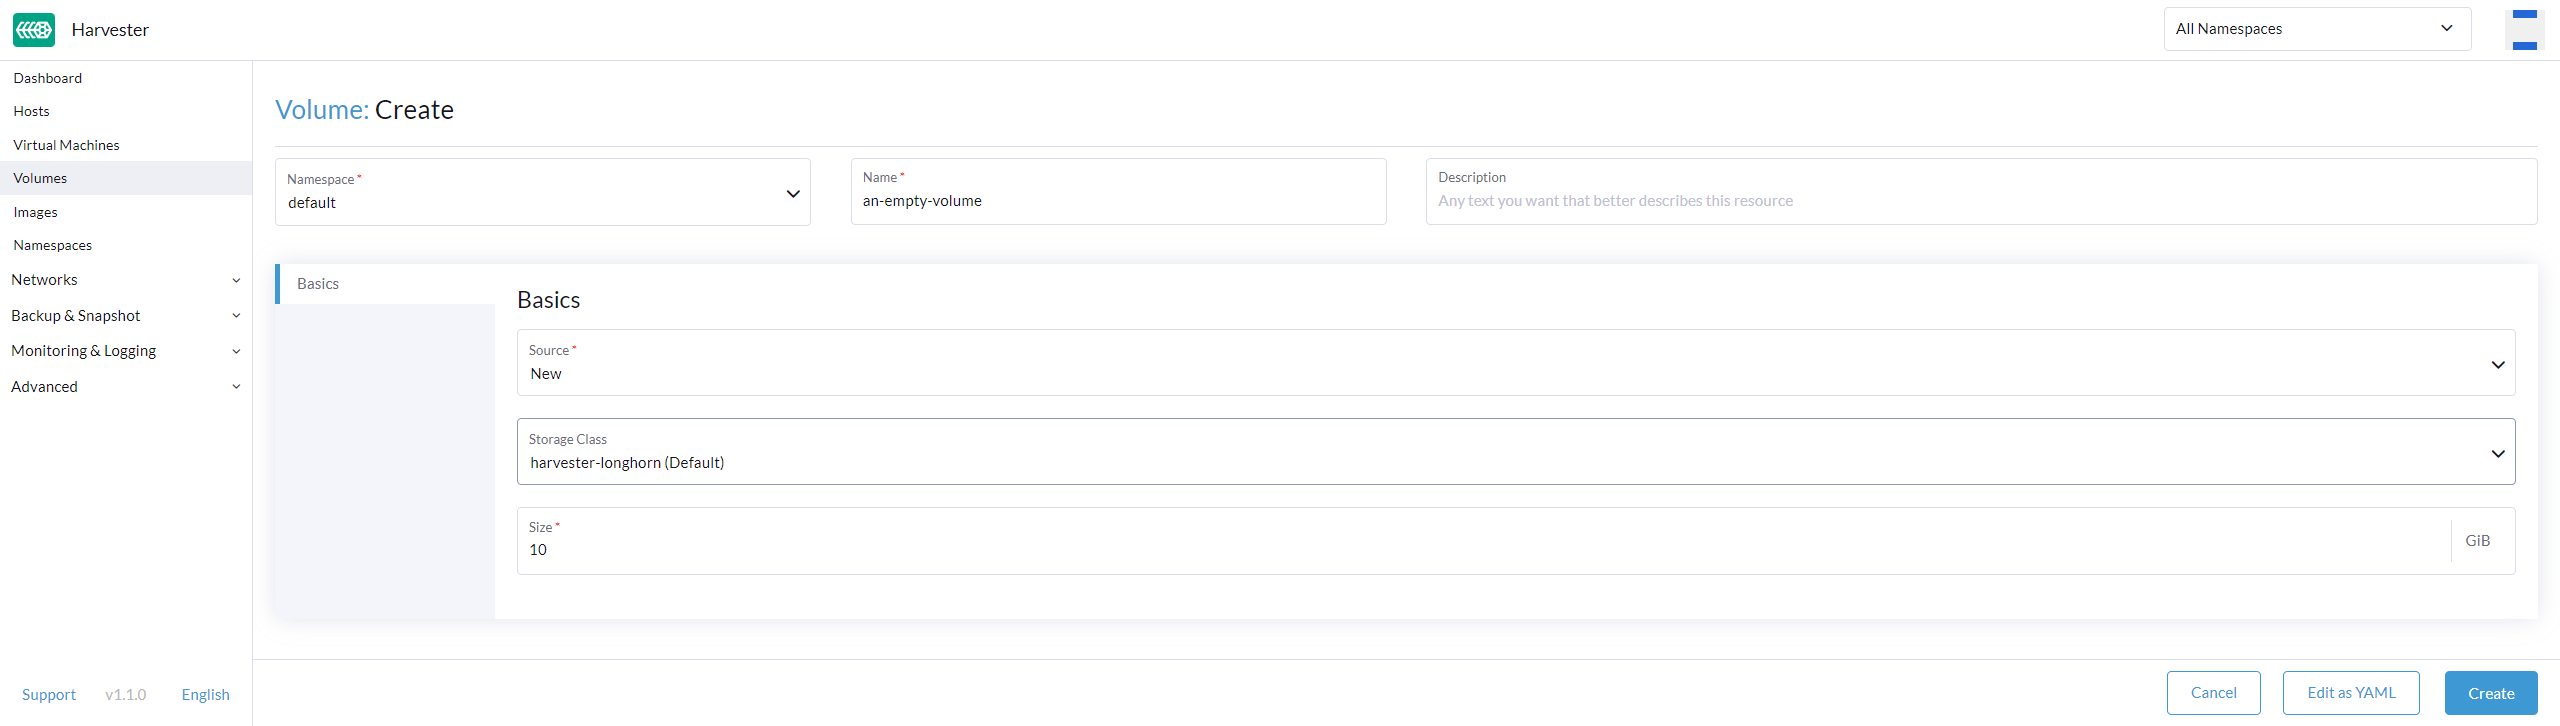
Create an Empty Volume
Header Section
- Set the Volume
Name. - (Optional) Provide a
Descriptionfor the Volume.
Basics Tab
- Choose
NewinSource. - Select an existing
StorageClass. - Configure the
Sizeof the volume.
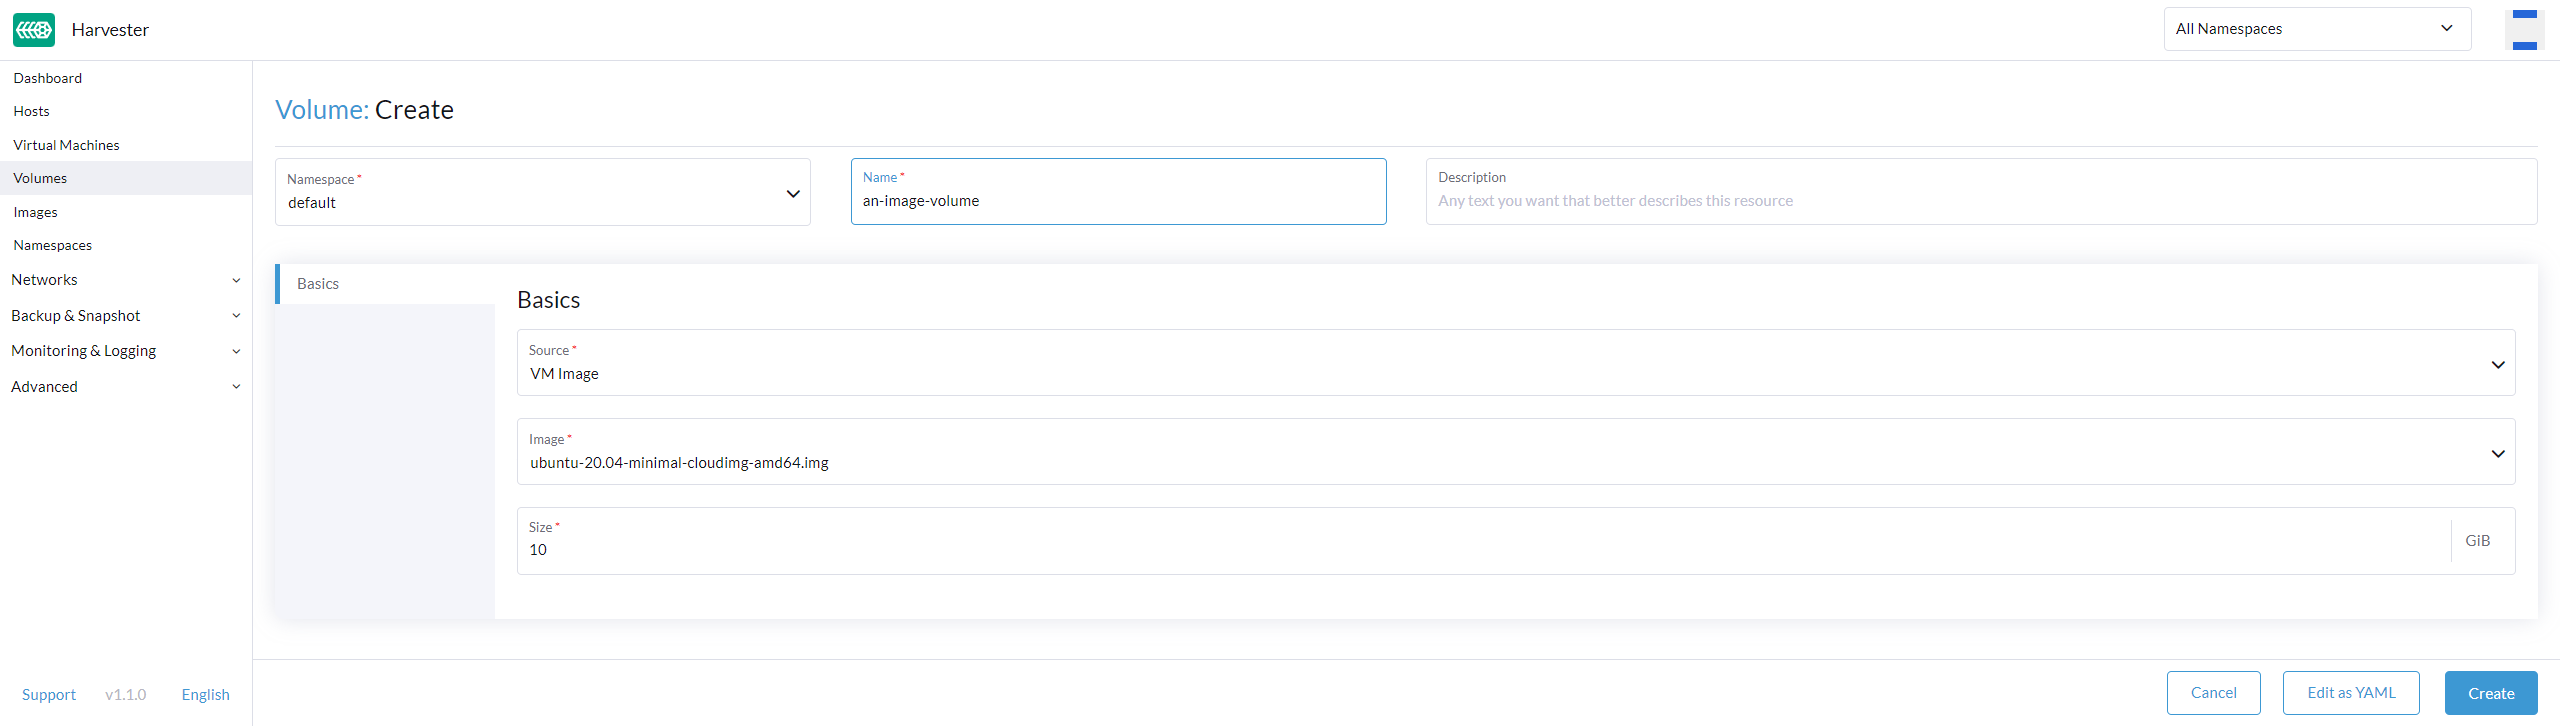
Create an Image Volume
Header Section
- Set the Volume
Name. - (Optional) Provide a
Descriptionfor the Volume.
Basics Tab
- Choose
VM ImageinSource. - Select an existing
Image. - Configure the
Sizeof the volume.
Known Issues
The Volumes page does not show the created volume
| Issue | Affected versions | Status | Last updated |
|---|---|---|---|
| The Volumes page does not show the created volume | Harvester v1.1.2 | Resolved (Harvester > v1.1.2) | 2023-07-28 |
Summary
After creating a volume when using Harvester from Rancher, users with the project role Project Member cannot find the newly created volume on the Volumes page.
Workaround
You can temporarily change the Harvester plugin version to v1.2.1-patch1 from the Harvester UI.
- Go to the Advanced > Settings page. Find the ui-plugin-index and select ⋮ > Edit Setting.
- Change the Value to https://releases.rancher.com/harvester-ui/plugin/harvester-release-harvester-v1.1.2-patch1/harvester-release-harvester-v1.1.2-patch1.umd.min.js.
- On the Settings page, find ui-source and select ⋮ > Edit Setting.
- Change the Value to External to use an external UI source.
- Log in again as a Project Member user in Rancher to view the newly created volume for your Harvester cluster.