Harvester CSI Driver
The Harvester Container Storage Interface (CSI) Driver provides a standard CSI interface used by guest Kubernetes clusters in Harvester. It connects to the host cluster and hot-plugs host volumes to the virtual machines (VMs) to provide native storage performance.
Deploying
Prerequisites
- The Kubernetes cluster is built on top of Harvester virtual machines.
- The Harvester virtual machines that run the guest Kubernetes nodes are all in the same Harvester namespace.
- The Harvester virtual machine guests' hostnames match their corresponding Harvester virtual machine names. Guest cluster Harvester VMs can't have different hostnames than their Harvester VM names when using the Harvester CSI driver. We hope to remove this limitation in a future release of Harvester.
Currently, the Harvester CSI driver only supports single-node read-write(RWO) volumes. Please follow the issue #1992 for future multi-node read-only(ROX) and read-write(RWX) support.
Deploying with Harvester RKE1 Node Driver
Select
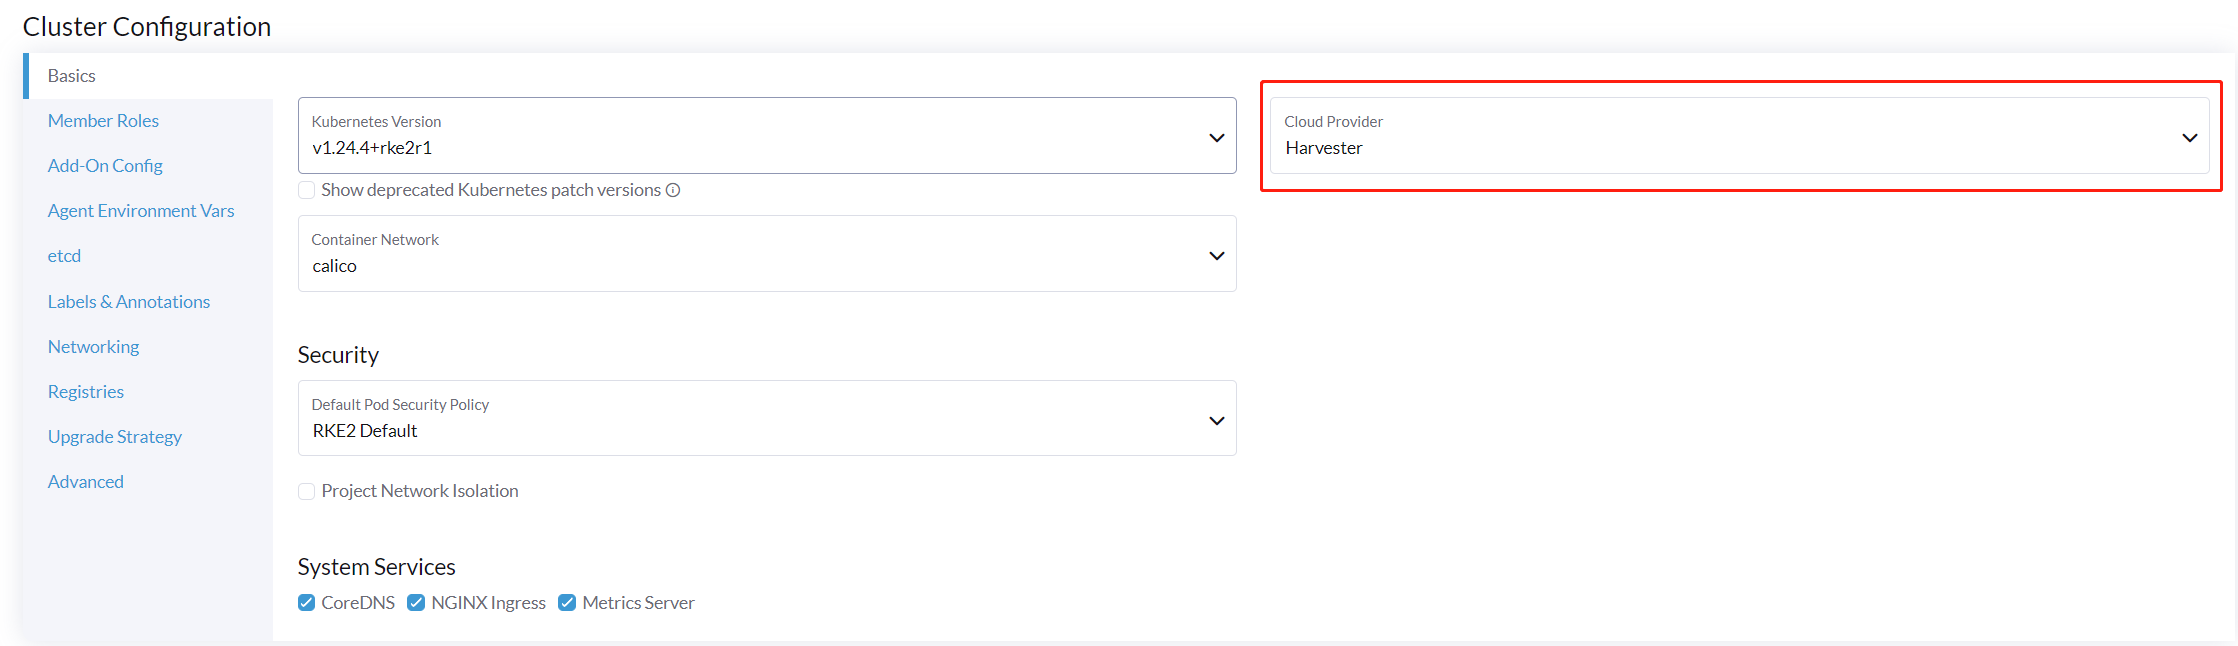
Harvester(Out-of-tree)option (optional. If you don't need to use the Cloud Provider feature at the same time, you can select theNoneoption).
Install
Harvester CSI Driverfrom the Rancher marketplace.
Deploying with Harvester RKE2 Node Driver
When spinning up a Kubernetes cluster using Rancher RKE2 node driver, the Harvester CSI driver will be deployed when Harvester cloud provider is selected.
Install CSI Driver Manually in the RKE2 Cluster
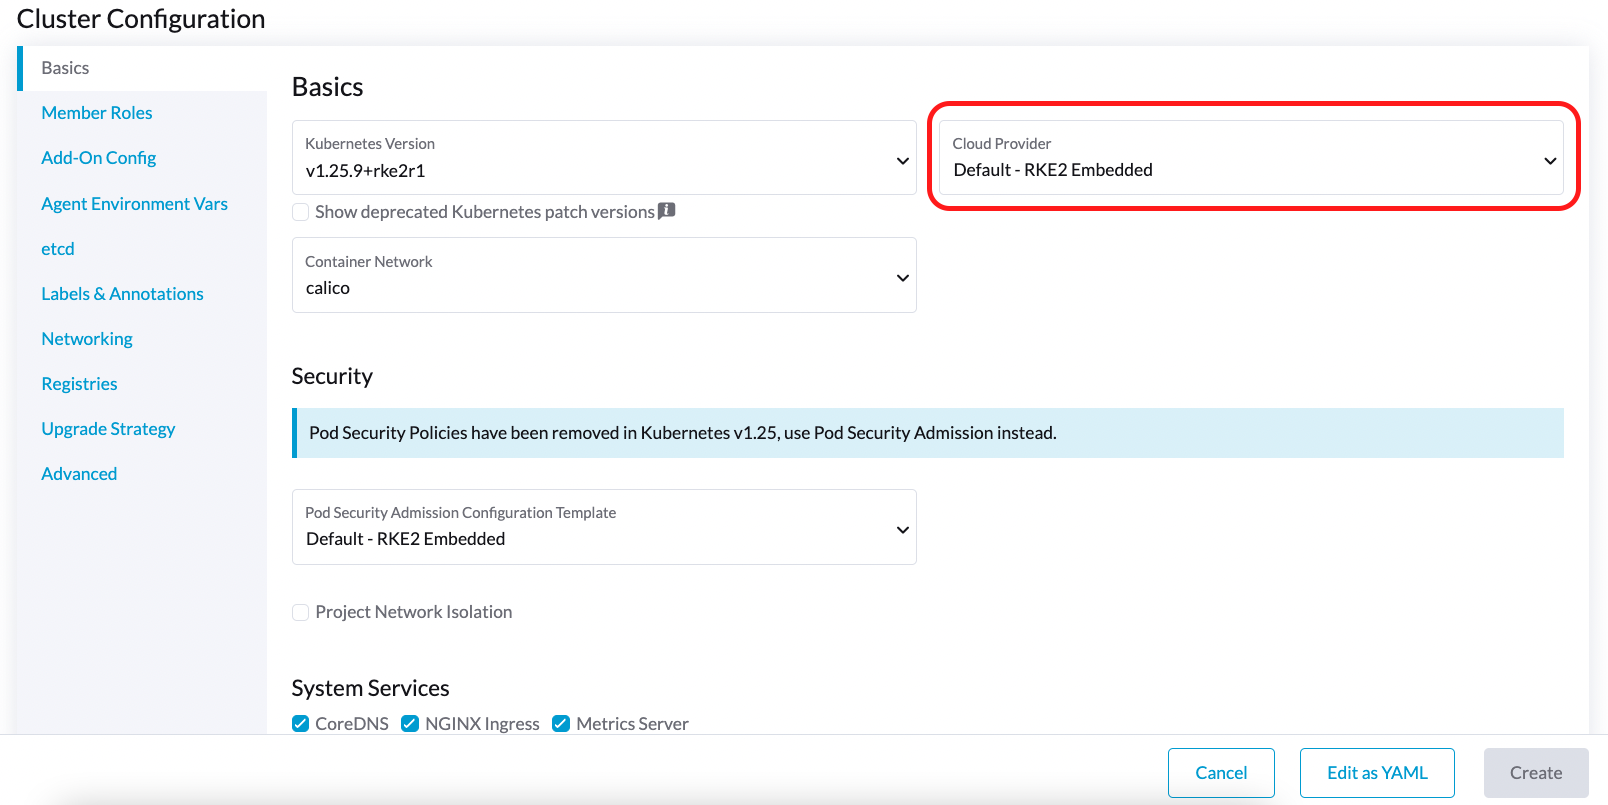
If you prefer to deploy the Harvester CSI driver without enabling the Harvester cloud provider, you can choose either Default - RKE2 Embedded or External in the Cloud Provider field. If you are using Rancher v2.6, select None instead.
Prerequisites
Ensure that you have the following prerequisites in place:
- You have
kubectlandjqinstalled on your system. - You have the
kubeconfigfile for your bare-metal Harvester cluster.export KUBECONFIG=/path/to/your/harvester-kubeconfig
Perform the following steps to deploy the Harvester CSI Driver manually:
Deploy Harvester CSI Driver
Generate cloud-config.
You can generate the
kubeconfigfile using the generate_addon_csi.sh script. It is available on the harvester/harvester-csi-driver repo. You can follow the steps below to get thecloud-configandcloud-initdata:The
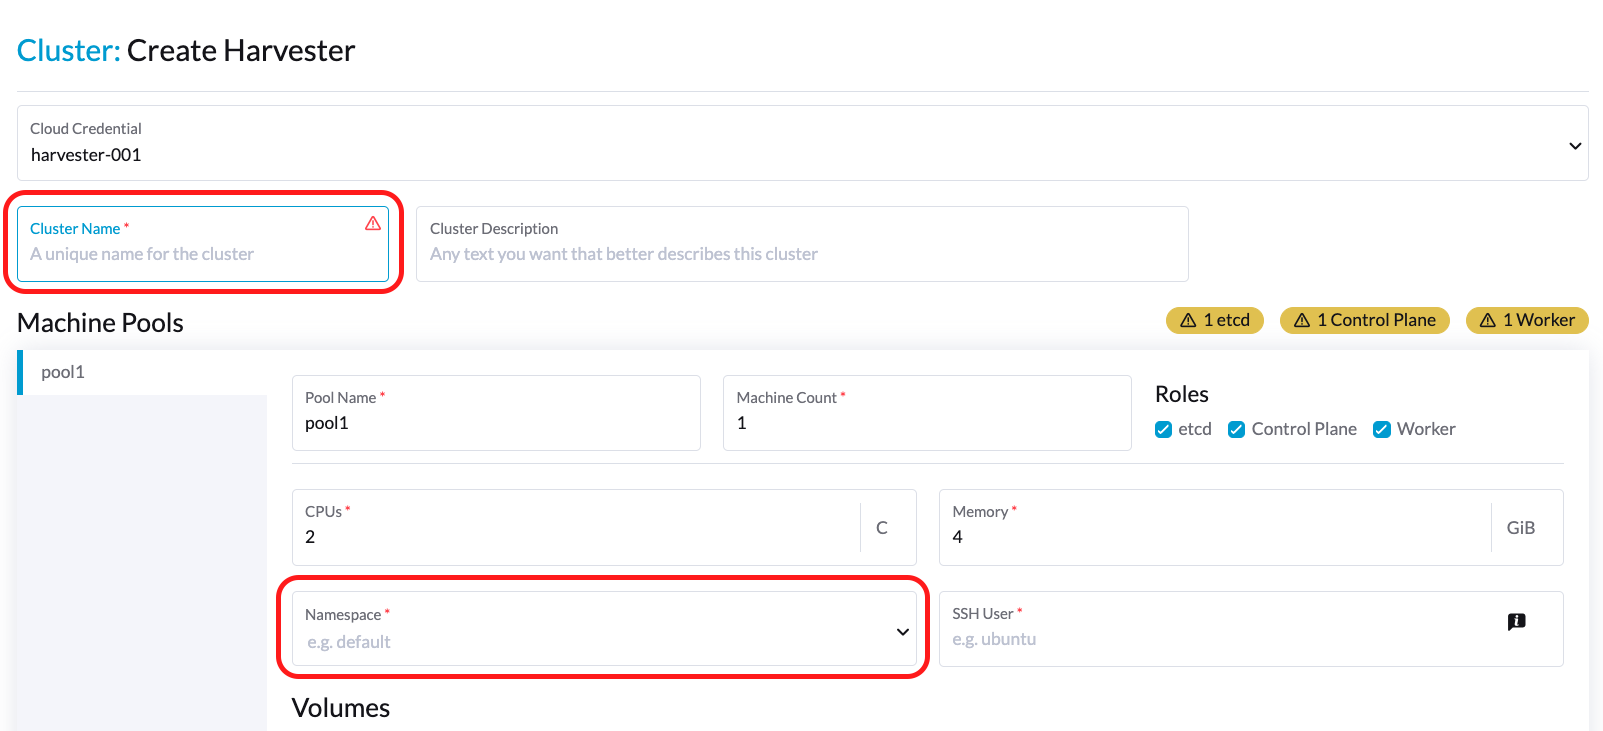
<serviceaccount name>usually corresponds to your guest cluster name (the value of "Cluster Name" in the figure below), and<namespace>should match the namespace (the value of "Namespace") of the guest cluster.# ./generate_addon_csi.sh <serviceaccount name> <namespace> RKE2########## cloud-config ############
apiVersion: v1
clusters:
- cluster: <token>
server: https://<YOUR HOST HARVESTER VIP>:6443
name: default
contexts:
- context:
cluster: default
namespace: default
user: rke2-guest-01-default-default
name: rke2-guest-01-default-default
current-context: rke2-guest-01-default-default
kind: Config
preferences: {}
users:
- name: rke2-guest-01-default-default
user:
token: <token>
########## cloud-init user data ############
write_files:
- encoding: b64
content: YXBpVmVyc2lvbjogdjEKY2x1c3RlcnM6Ci0gY2x1c3RlcjoKICAgIGNlcnRpZmljYXRlLWF1dGhvcml0eS1kYXRhOiBMUzB0TFMxQ1JVZEpUaUJEUlZKVVNVWkpRMEZVUlMwdExTMHRDazFKU1VKbFZFTkRRVklyWjBGM1NVSkJaMGxDUVVSQlMwSm5aM0ZvYTJwUFVGRlJSRUZxUVd0TlUwbDNTVUZaUkZaUlVVUkVRbXg1WVRKVmVVeFlUbXdLWTI1YWJHTnBNV3BaVlVGNFRtcG5NVTE2VlhoT1JGRjNUVUkwV0VSVVNYcE5SRlY1VDFSQk5VMVVRVEJOUm05WVJGUk5lazFFVlhsT2FrRTFUVlJCTUFwTlJtOTNTa1JGYVUxRFFVZEJNVlZGUVhkM1dtTnRkR3hOYVRGNldsaEtNbHBZU1hSWk1rWkJUVlJaTkU1VVRURk5WRkV3VFVSQ1drMUNUVWRDZVhGSENsTk5ORGxCWjBWSFEwTnhSMU5OTkRsQmQwVklRVEJKUVVKSmQzRmFZMDVTVjBWU2FsQlVkalJsTUhFMk0ySmxTSEZEZDFWelducGtRa3BsU0VWbFpHTUtOVEJaUTNKTFNISklhbWdyTDJab2VXUklNME5ZVURNeFZXMWxTM1ZaVDBsVGRIVnZVbGx4YVdJMGFFZE5aekpxVVdwQ1FVMUJORWRCTVZWa1JIZEZRZ292ZDFGRlFYZEpRM0JFUVZCQ1owNVdTRkpOUWtGbU9FVkNWRUZFUVZGSUwwMUNNRWRCTVZWa1JHZFJWMEpDVWpaRGEzbEJOSEZqYldKSlVESlFWVW81Q2xacWJWVTNVV2R2WjJwQlMwSm5aM0ZvYTJwUFVGRlJSRUZuVGtsQlJFSkdRV2xCZUZKNU4xUTNRMVpEYVZWTVdFMDRZazVaVWtWek1HSnBZbWxVSzJzS1kwRnhlVmt5Tm5CaGMwcHpMM2RKYUVGTVNsQnFVVzVxZEcwMVptNTZWR3AxUVVsblRuTkdibFozWkZRMldXWXpieTg0ZFRsS05tMWhSR2RXQ2kwdExTMHRSVTVFSUVORlVsUkpSa2xEUVZSRkxTMHRMUzBLCiAgICBzZXJ2ZXI6IGh0dHBzOi8vMTkyLjE2OC4wLjEzMTo2NDQzCiAgbmFtZTogZGVmYXVsdApjb250ZXh0czoKLSBjb250ZXh0OgogICAgY2x1c3RlcjogZGVmYXVsdAogICAgbmFtZXNwYWNlOiBkZWZhdWx0CiAgICB1c2VyOiBya2UyLWd1ZXN0LTAxLWRlZmF1bHQtZGVmYXVsdAogIG5hbWU6IHJrZTItZ3Vlc3QtMDEtZGVmYXVsdC1kZWZhdWx0CmN1cnJlbnQtY29udGV4dDogcmtlMi1ndWVzdC0wMS1kZWZhdWx0LWRlZmF1bHQKa2luZDogQ29uZmlnCnByZWZlcmVuY2VzOiB7fQp1c2VyczoKLSBuYW1lOiBya2UyLWd1ZXN0LTAxLWRlZmF1bHQtZGVmYXVsdAogIHVzZXI6CiAgICB0b2tlbjogZXlKaGJHY2lPaUpTVXpJMU5pSXNJbXRwWkNJNklreGhUazQxUTBsMWFsTnRORE5TVFZKS00waE9UbGszTkV0amNVeEtjM1JSV1RoYVpUbGZVazA0YW1zaWZRLmV5SnBjM01pT2lKcmRXSmxjbTVsZEdWekwzTmxjblpwWTJWaFkyTnZkVzUwSWl3aWEzVmlaWEp1WlhSbGN5NXBieTl6WlhKMmFXTmxZV05qYjNWdWRDOXVZVzFsYzNCaFkyVWlPaUprWldaaGRXeDBJaXdpYTNWaVpYSnVaWFJsY3k1cGJ5OXpaWEoyYVdObFlXTmpiM1Z1ZEM5elpXTnlaWFF1Ym1GdFpTSTZJbkpyWlRJdFozVmxjM1F0TURFdGRHOXJaVzRpTENKcmRXSmxjbTVsZEdWekxtbHZMM05sY25acFkyVmhZMk52ZFc1MEwzTmxjblpwWTJVdFlXTmpiM1Z1ZEM1dVlXMWxJam9pY210bE1pMW5kV1Z6ZEMwd01TSXNJbXQxWW1WeWJtVjBaWE11YVc4dmMyVnlkbWxqWldGalkyOTFiblF2YzJWeWRtbGpaUzFoWTJOdmRXNTBMblZwWkNJNkltTXlZak5sTldGaExUWTBNMlF0TkRkbU1pMDROemt3TFRjeU5qWXpNbVl4Wm1aaU5pSXNJbk4xWWlJNkluTjVjM1JsYlRwelpYSjJhV05sWVdOamIzVnVkRHBrWldaaGRXeDBPbkpyWlRJdFozVmxjM1F0TURFaWZRLmFRZmU1d19ERFRsSWJMYnUzWUVFY3hmR29INGY1VnhVdmpaajJDaWlhcXB6VWI0dUYwLUR0cnRsa3JUM19ZemdXbENRVVVUNzNja1BuQmdTZ2FWNDhhdmlfSjJvdUFVZC04djN5d3M0eXpjLVFsTVV0MV9ScGJkUURzXzd6SDVYeUVIREJ1dVNkaTVrRWMweHk0X0tDQ2IwRHQ0OGFoSVhnNlMwRDdJUzFfVkR3MmdEa24wcDVXUnFFd0xmSjdEbHJDOFEzRkNUdGhpUkVHZkUzcmJGYUdOMjdfamR2cUo4WXlJQVd4RHAtVHVNT1pKZUNObXRtUzVvQXpIN3hOZlhRTlZ2ZU05X29tX3FaVnhuTzFEanllbWdvNG9OSEpzekp1VWliRGxxTVZiMS1oQUxYSjZXR1Z2RURxSTlna1JlSWtkX3JqS2tyY3lYaGhaN3lTZ3o3QQo=
owner: root:root
path: /var/lib/rancher/rke2/etc/config-files/cloud-provider-config
permissions: '0644'Copy and paste the output below
cloud-init user datato Machine Pools >Show Advanced > User Data.Set up cloud-provider-config.
The cloud-provider-config should be created after you apply the above cloud-init user data.
You can check again on the path
/var/lib/rancher/rke2/etc/config-files/cloud-provider-config.noteIf you want to change the cloud-provider-config path, you should update the cloud-init user data.
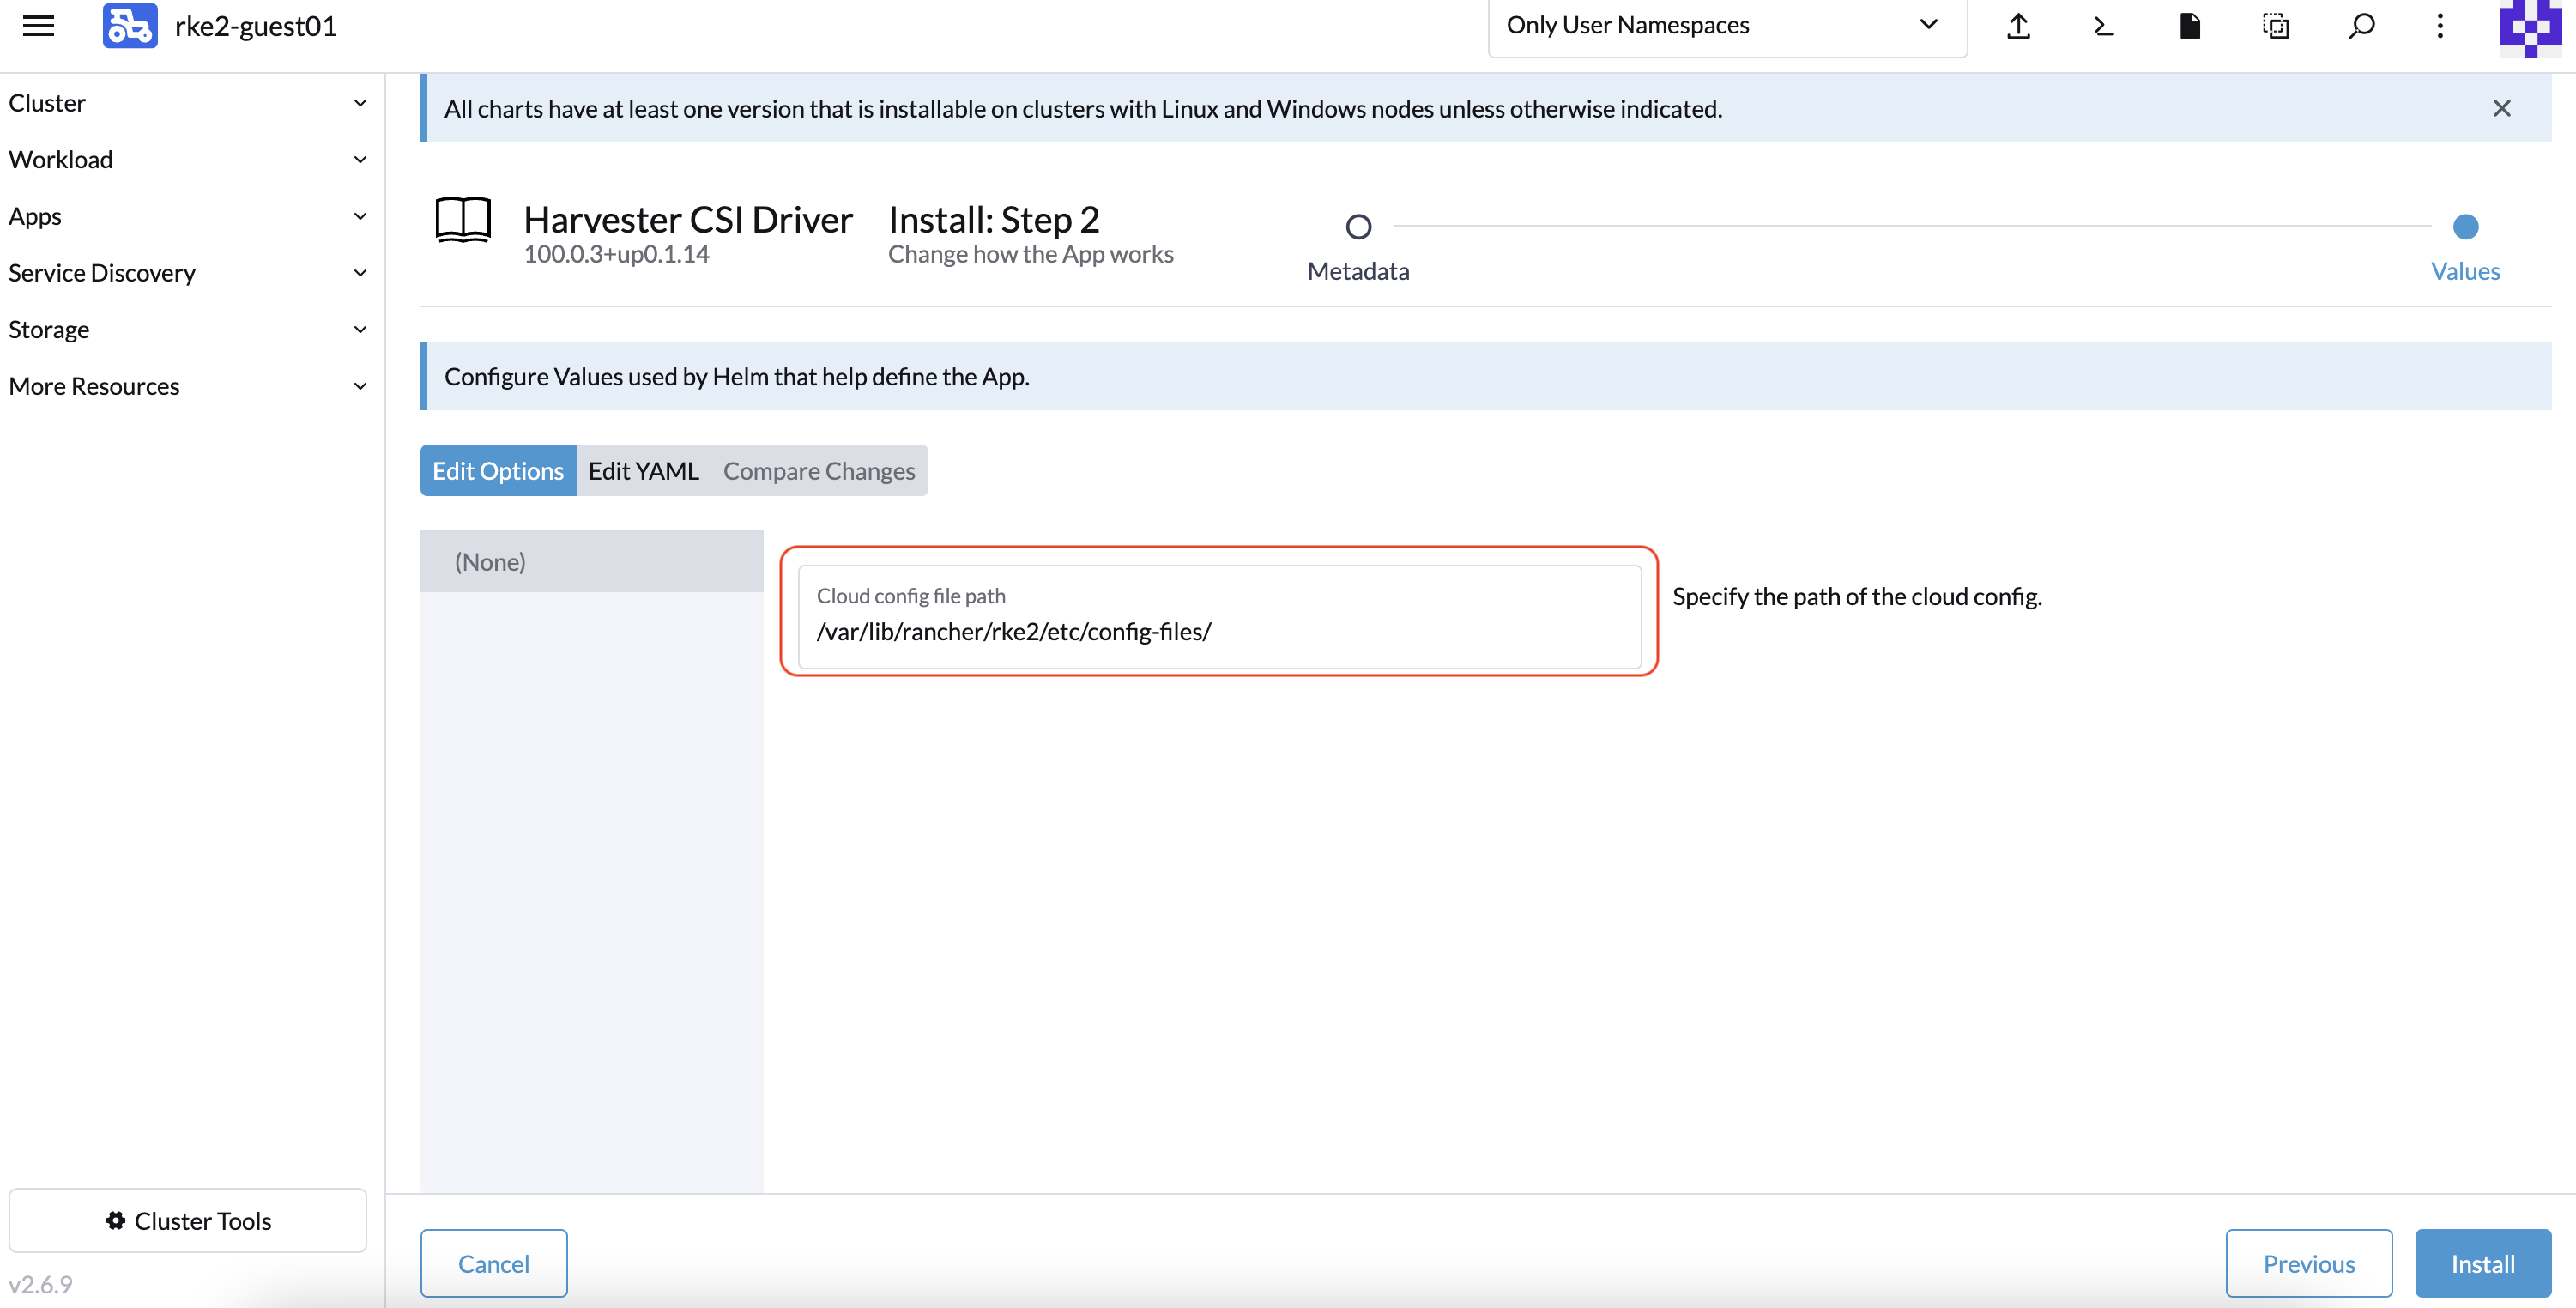
Install Harvester CSI Driver.
Install the
Harvester CSI Driverchart from the Rancher marketplace. (Note: by default, you do not need to change thecloud-configpath).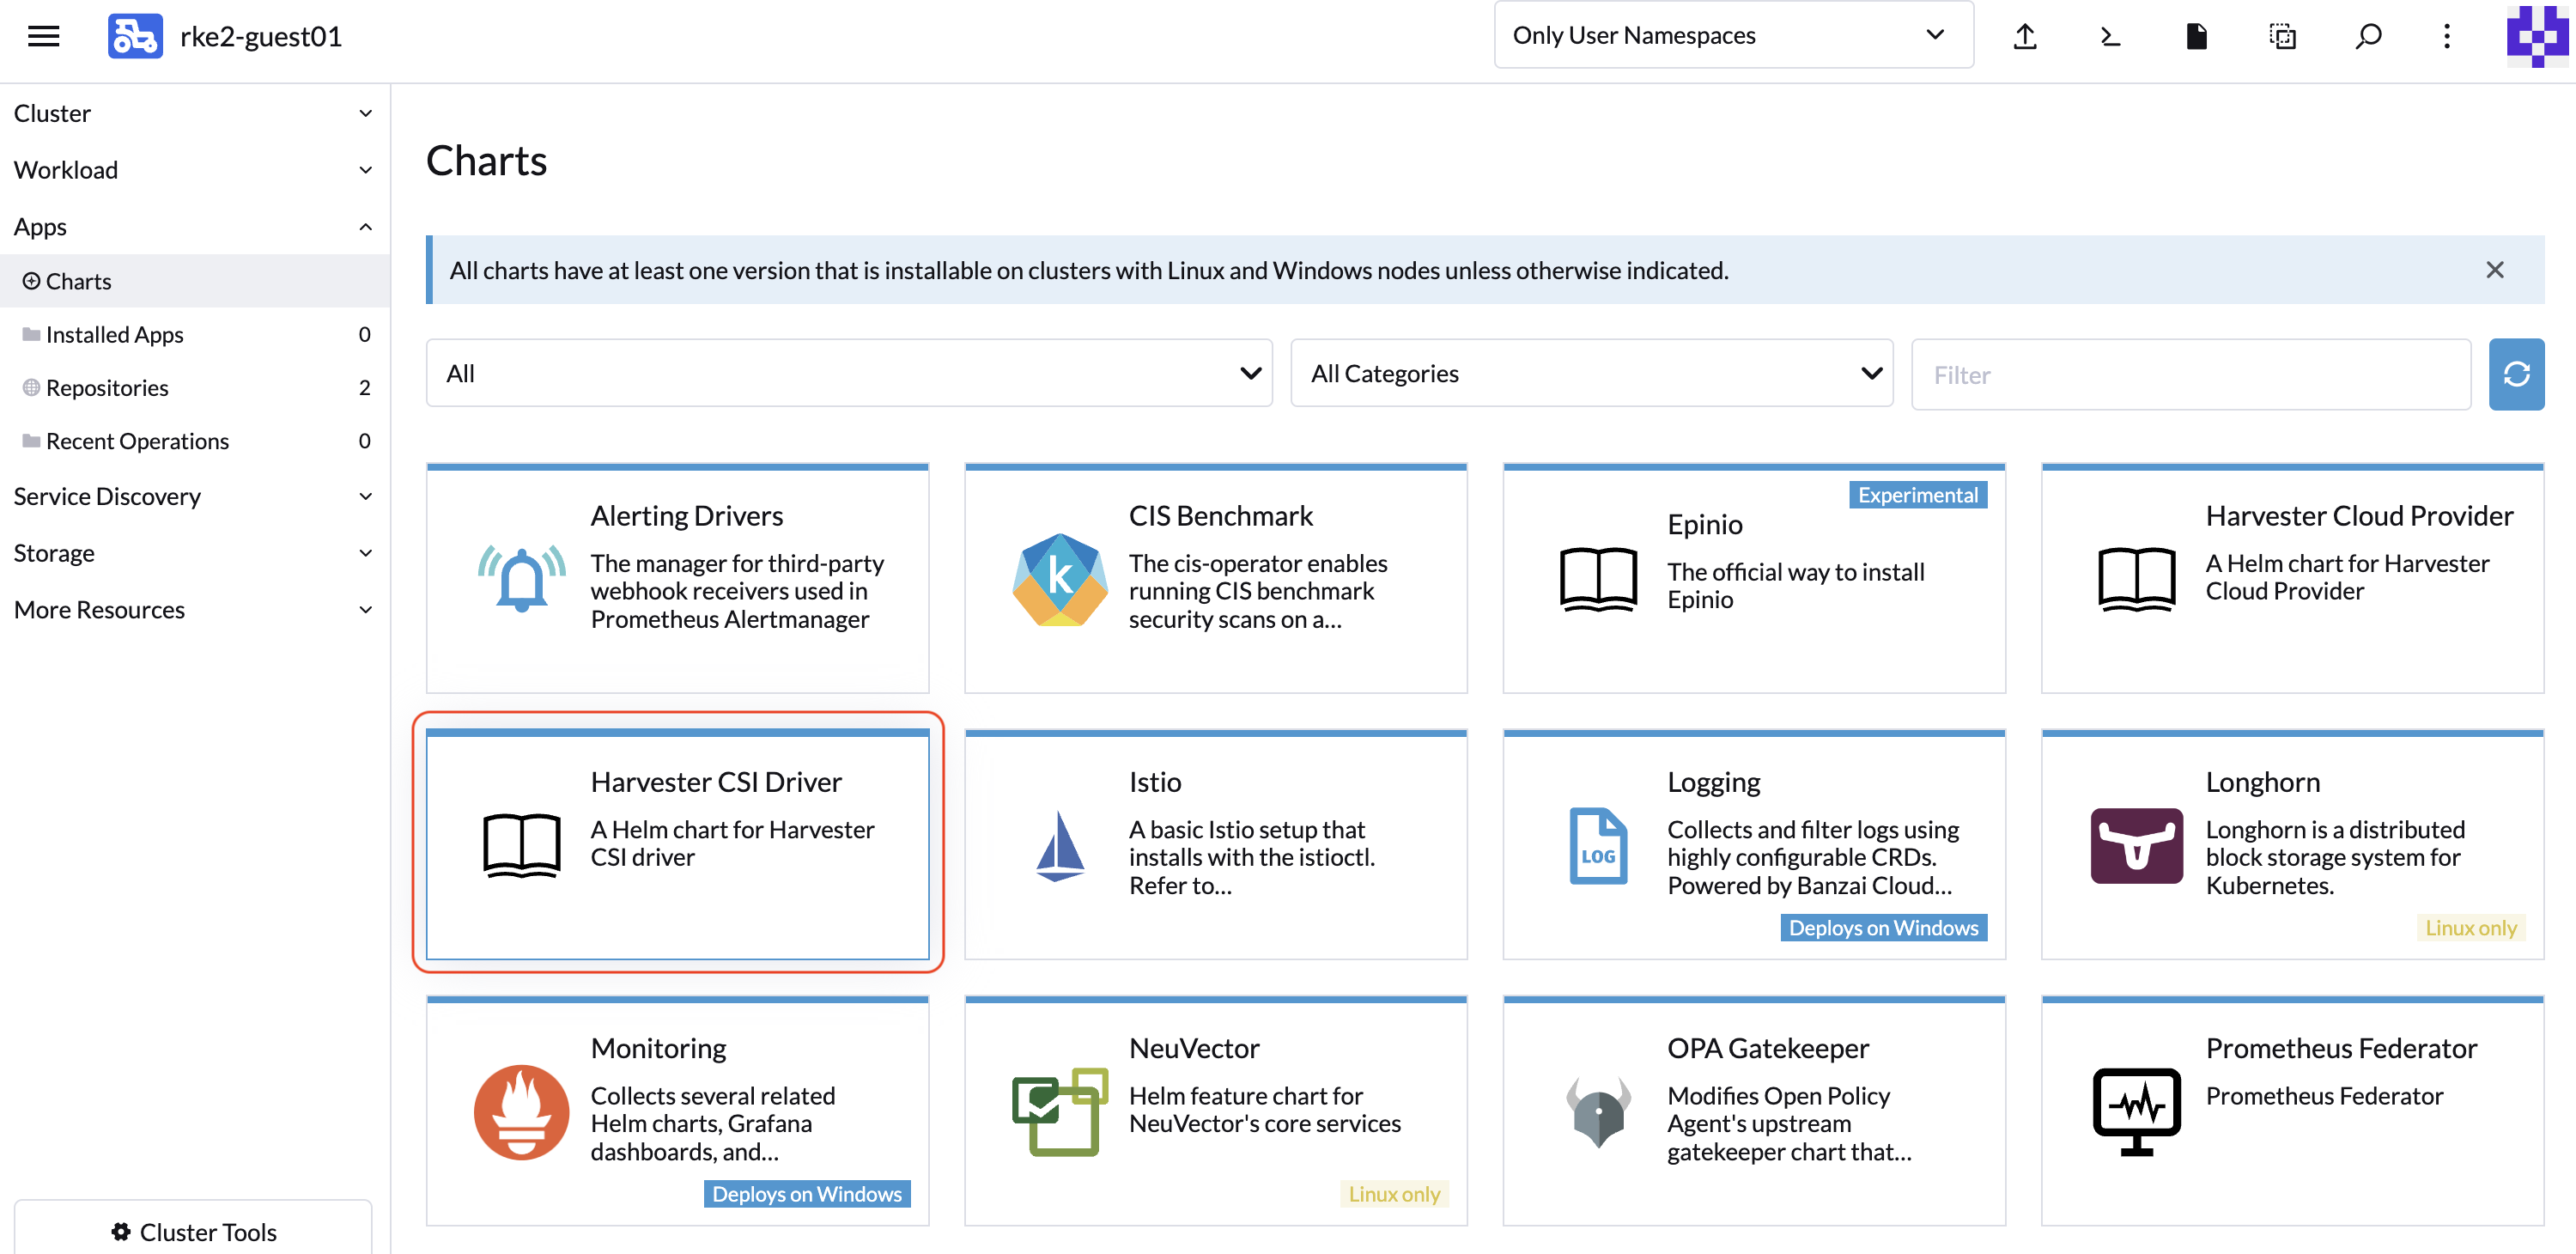
If you prefer not to install the Harvester CSI driver using Rancher (Apps > Charts), you can use Helm instead. The Harvester CSI driver is packaged as a Helm chart. For more information, see https://charts.harvesterhci.io.
By following the above steps, you should be able to see those CSI driver pods are up and running, and you can verify it by provisioning a new PVC using the default storageClass harvester..
Deploying with Harvester K3s Node Driver
You can follow the Deploy Harvester CSI Driver steps described in the RKE2 section for Prerequisites
The only difference is that you need to change the script command as follows:
# ./generate_addon_csi.sh <serviceaccount name> <namespace> k3s
Passthrough Custom StorageClass
Starting with Harvester CSI driver v0.1.15, you can create a PersistentVolumeClaim (PVC) based on a different StorageClass.
Harvester CSI driver v0.1.15 is supported out of the box starting with the following RKE2 versions; for RKE1 you need to manually install the CSI driver chart:
- v1.23.16+rke2r1 and later
- v1.24.10+rke2r1 and later
- v1.25.6+rke2r1 and later
- v1.26.1+rke2r1 and later
- v1.27.1+rke2r1 and later
Prerequisites
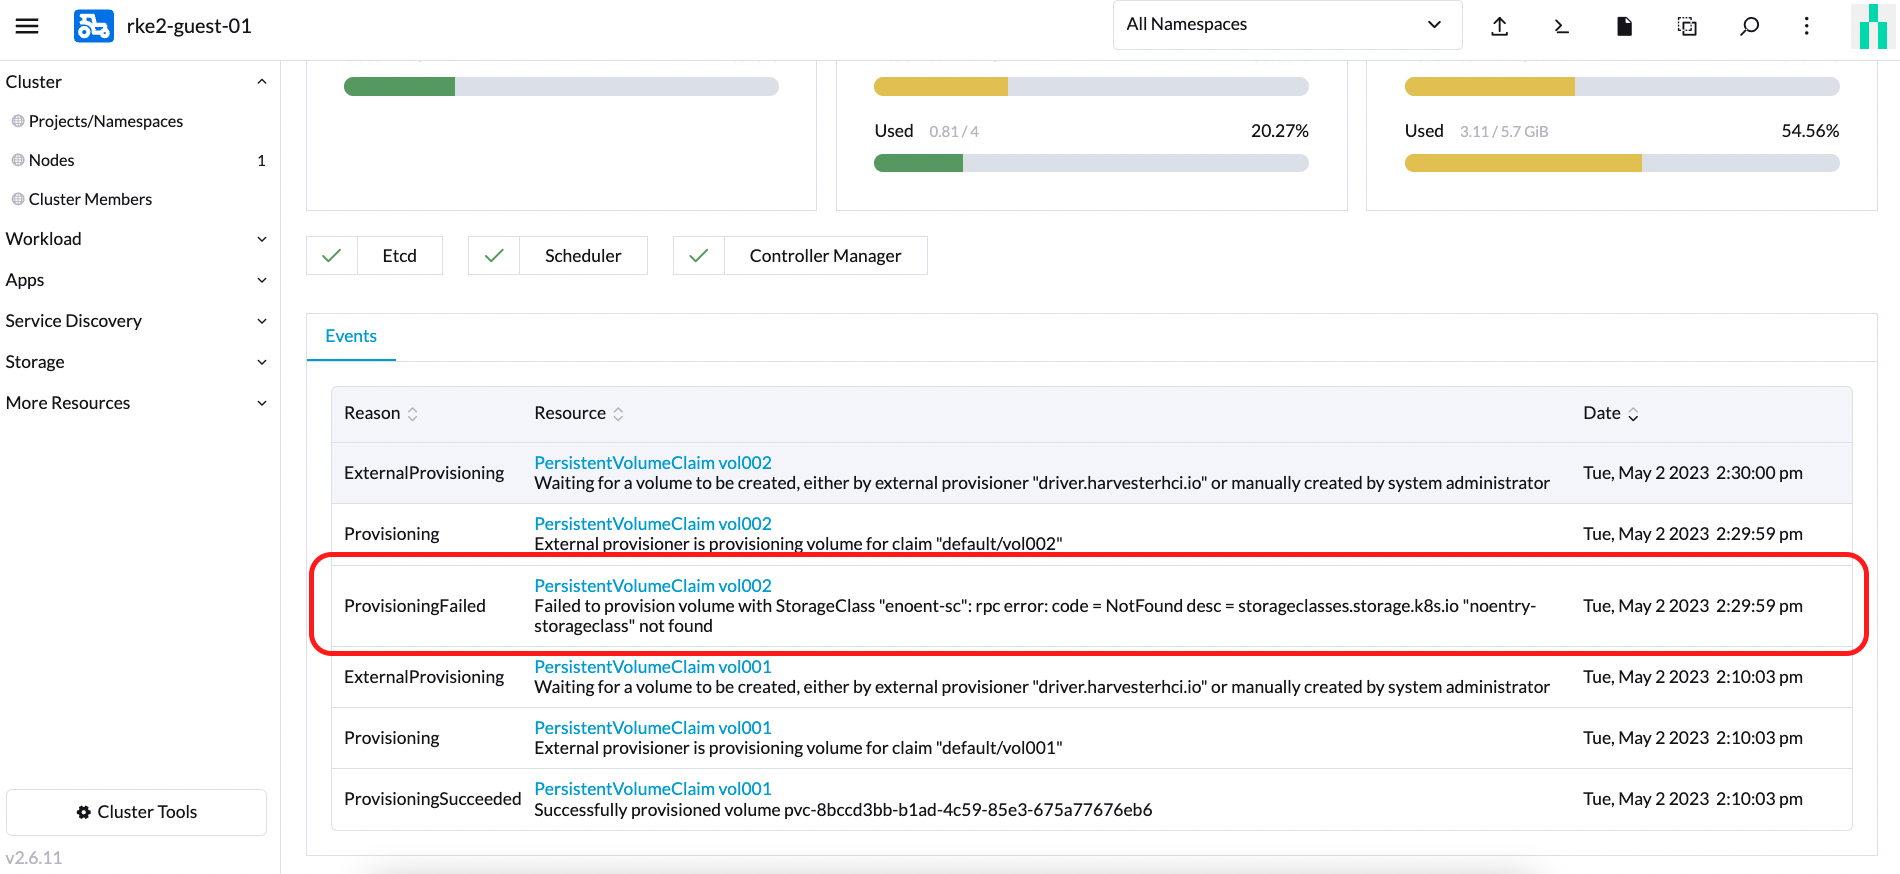
Please add the following additional perquisites to your Harvester cluster. The Harvester CSI driver requires proper RBAC to display error messages. This is important for displaying an error message when creating a PVC with a StorageClass that does not exist, as shown in the following figure.
Perform the following steps to setup RBAC to enable seeing error messages.
Create a new
clusterrolenamedharvesterhci.io:csi-driverwith the following manifest.apiVersion: rbac.authorization.k8s.io/v1
kind: ClusterRole
metadata:
labels:
app.kubernetes.io/component: apiserver
app.kubernetes.io/name: harvester
app.kubernetes.io/part-of: harvester
name: harvesterhci.io:csi-driver
rules:
- apiGroups:
- storage.k8s.io
resources:
- storageclasses
verbs:
- get
- list
- watchThen create the
clusterrolebindingto associate with the newclusterrolewith the following manifest.apiVersion: rbac.authorization.k8s.io/v1
kind: ClusterRoleBinding
metadata:
name: <namespace>-<serviceaccount name>
roleRef:
apiGroup: rbac.authorization.k8s.io
kind: ClusterRole
name: harvesterhci.io:csi-driver
subjects:
- kind: ServiceAccount
name: <serviceaccount name>
namespace: <namespace>
Make sure the serviceaccount name and namespace are the same as your cloud provider. Perform the following steps to see the serviceaccount name and namespace for your cloud provider.
Find the
rolebindingfor your cloud provider .# kubectl get rolebinding -A |grep harvesterhci.io:cloudprovider
default default-rke2-guest-01 ClusterRole/harvesterhci.io:cloudprovider 7d1hGet the
subjectsinfo on thisrolebinding.kubectl get rolebinding default-rke2-guest-01 -n default -o yaml |yq -e '.subjects'Find the
ServiceAccountinfo as follows:- kind: ServiceAccount
name: rke2-guest-01
namespace: default
Deploying
Create a new StorageClass that you would like to use in your guest k8s cluster. You can refer to the StorageClasses for more details.
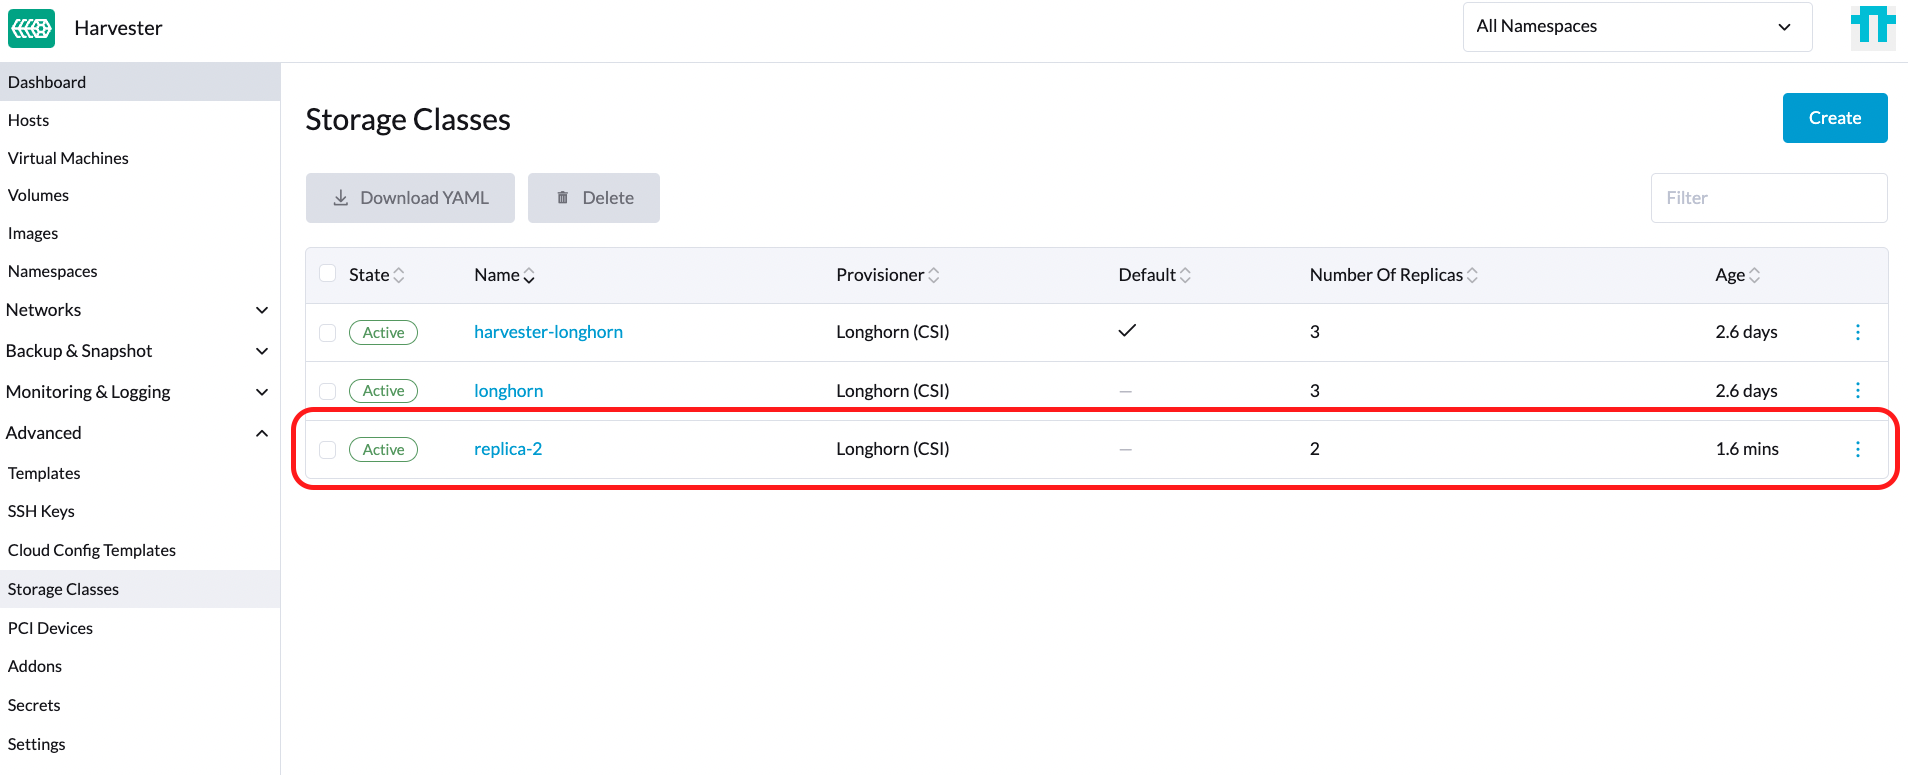
As show in the following figure, create a new StorageClass named replica-2.
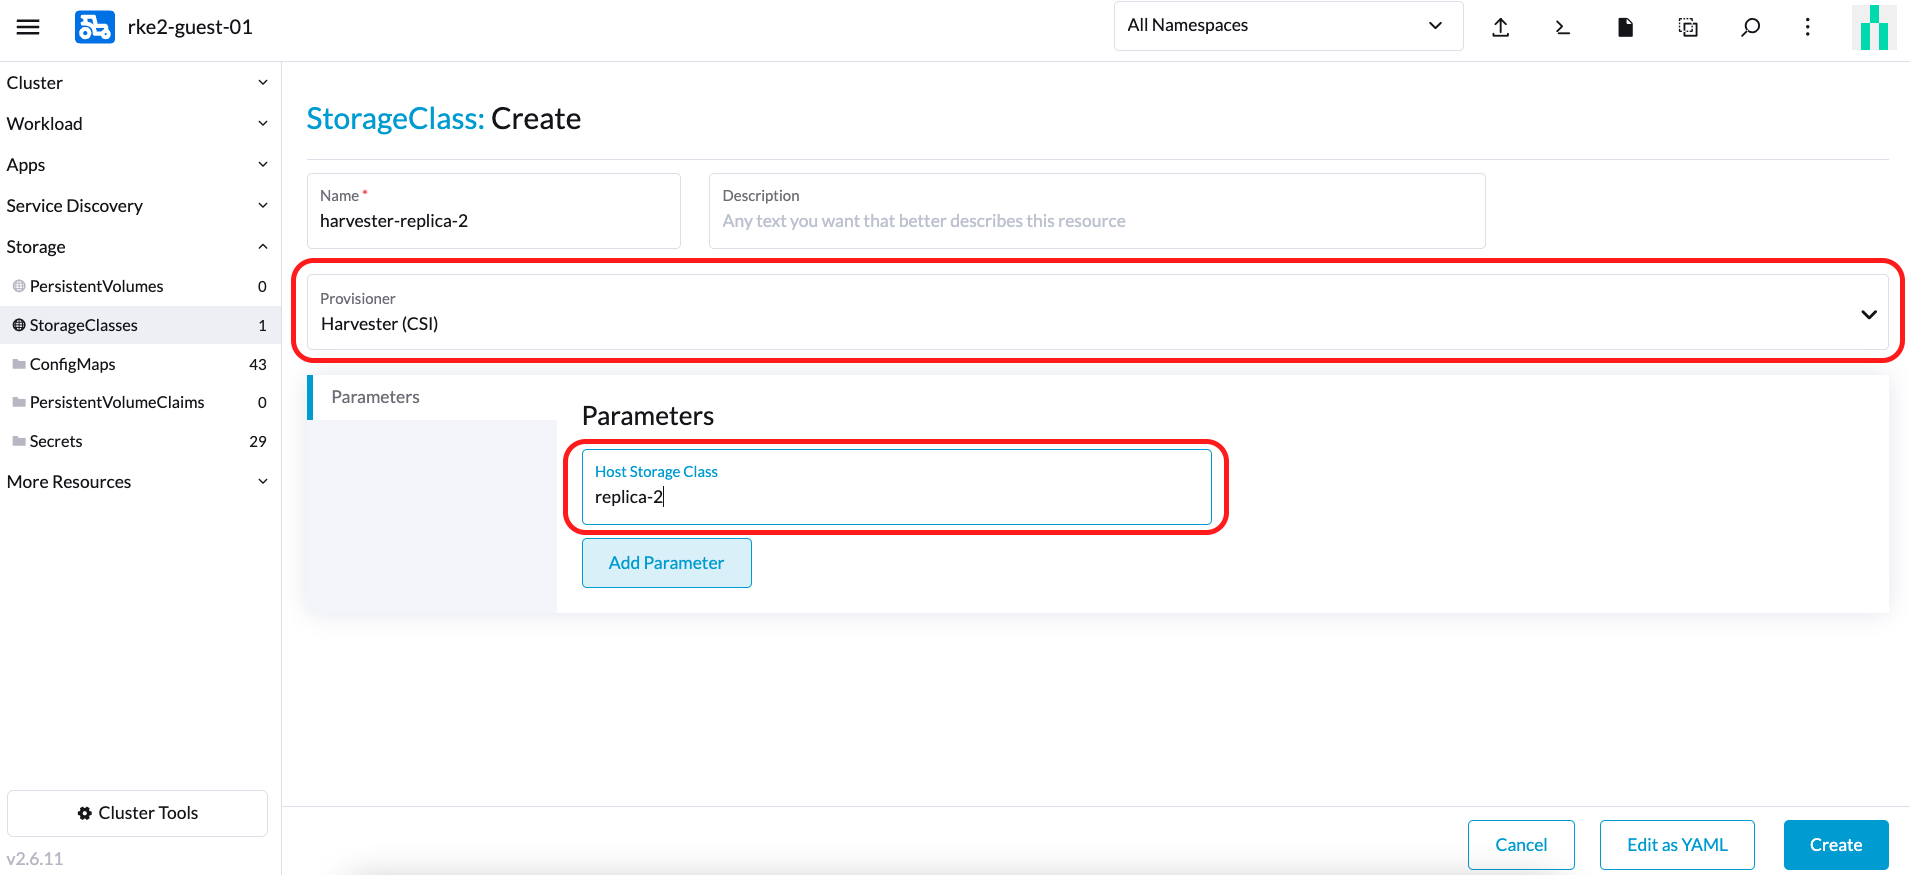
For example, create a new StorageClass on the downstream cluster as follows associated with the StorageClass created on the Harvester Cluster named replica-2.
 note
noteWhen choosing a Provisioner, select Harvester (CSI). The parameter Host StorageClass should be the StorageClass created on the Harvester Cluster.
You can now create a PVC based on this new StorageClass, which uses the Host StorageClass to provision volumes on the bare-metal cluster.