Upgrade from v1.0.3/v1.1.0 to v1.1.1
General information
- Starting from version v1.1.0, Harvester brings in the new VLAN enhancement feature. Due to the implementation changes, all user VMs must shut down if the upgrade is from v1.0.3 to v1.1.1. Please stop the VMs before an upgrade. Upgrading from v1.1.0 to v1.1.1 doesn't have this restriction (using live migration).
Once there is an upgradable version, the Harvester GUI Dashboard page will show an upgrade button. For more details, please refer to start an upgrade.
For the air-gap env upgrade, please refer to prepare an air-gapped upgrade.
Known issues
1. An upgrade is stuck when pre-draining a node
Starting from v1.1.0, Harvester will wait for all volumes to become healthy (when node count >= 3) before upgrading a node. Generally, users can check volumes' health if an upgrade is stuck in the "pre-draining" state.
Visit "Access Embedded Longhorn" to see how to access the embedded Longhorn GUI.
2. An upgrade is stuck when pre-draining a node (case 2)
An upgrade is stuck, as shown in the screenshot below:
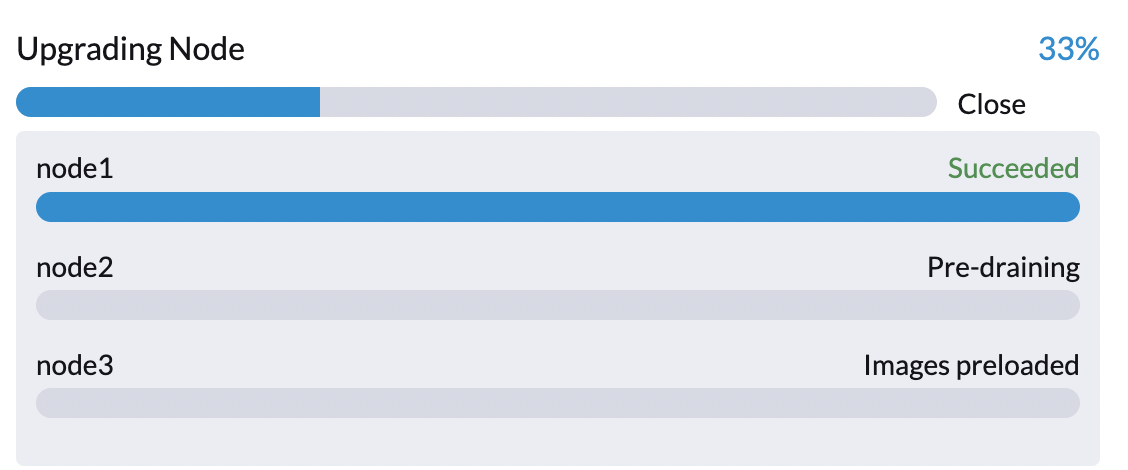
And the user can also observe multiple nodes have scheduling disabled.
$ kubectl get nodes
NAME    STATUS                     ROLES                       AGE   VERSION
node1   Ready                      control-plane,etcd,master   20d   v1.24.7+rke2r1
node2   Ready,SchedulingDisabled   control-plane,etcd,master   20d   v1.24.7+rke2r1
node3   Ready,SchedulingDisabled   control-plane,etcd,master   20d   v1.24.7+rke2r1
- Related issue:
- Workaround:
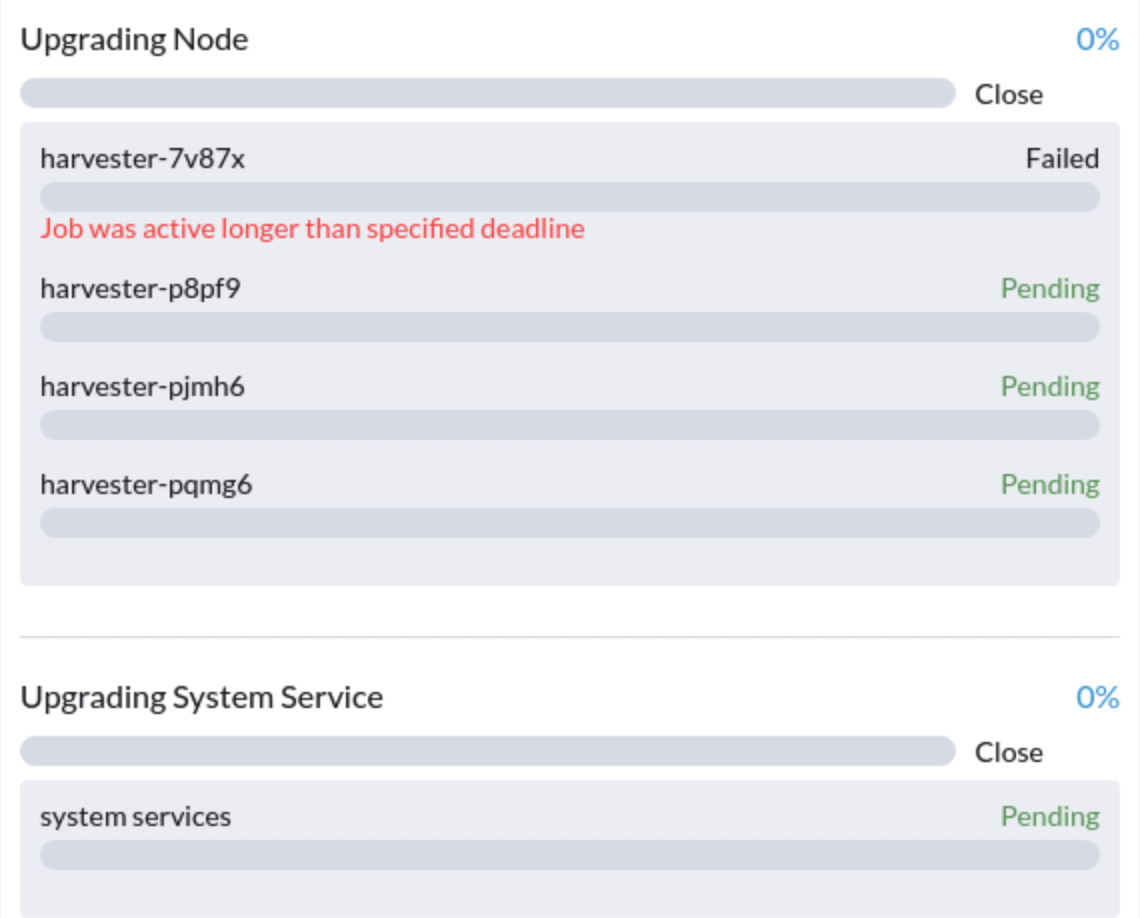
3. An upgrade is stuck in upgrading the first node: Job was active longer than the specified deadline
An upgrade fails, as shown in the screenshot below:
- Related issue:
- Workaround:
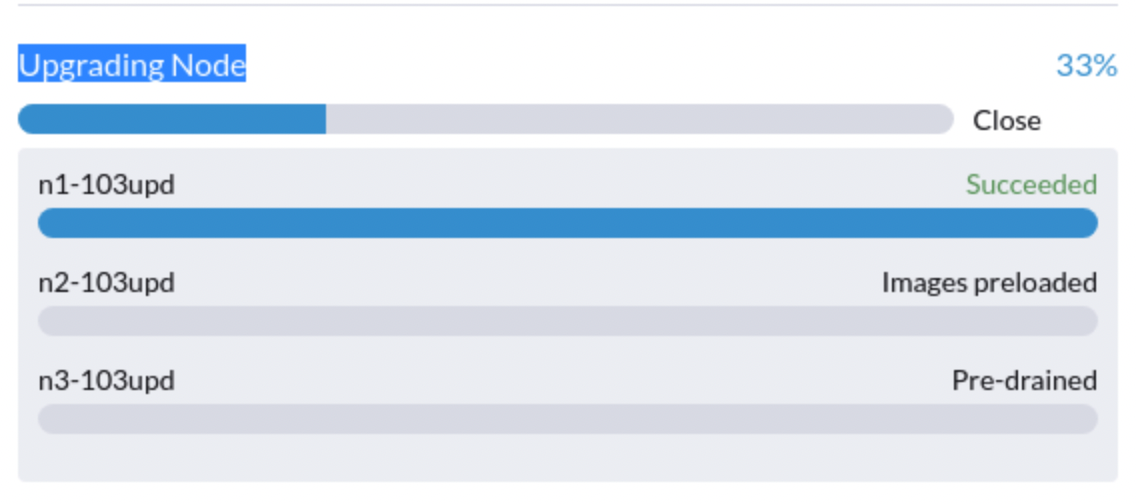
4. An upgrade is stuck after a node is pre-drained
An upgrade is stuck, as shown in the screenshot below:
- Related issue:
- Workaround:
5. Additional certificates disappear after an upgrade
After upgrading from v1.0.3, the file /etc/pki/trust/anchors/additional-ca.pem configured via the additional-ca setting disappears.
To fix this, the user needs to access the Settings page (Harvester GUI, Advanced -> Settings):
- Edit the
additional-casetting. Back up the current value first, clear the current value, and clickSave. - Edit the
additional-casetting again. Input the certificates again and clickSave.